Automatic Weights in Blender
Automatic Weights in Blender
Section titled “Automatic Weights in Blender”Automatic weights is the most standard technique of model skinning. In some cases it doesn’t provide very accurate results, works best with models in T-pose. Weight painting may be required to fine-tune initial automatic skinning that is used as first the approximation.
- Download any reference model:
- Body mesh in T-pose.
- Body mesh in A-pose.
- Armature only.
- RPM avatar.
- Any other model that contains compatible armature.
- Import the reference model into a scene.
- Import your model into the scene.
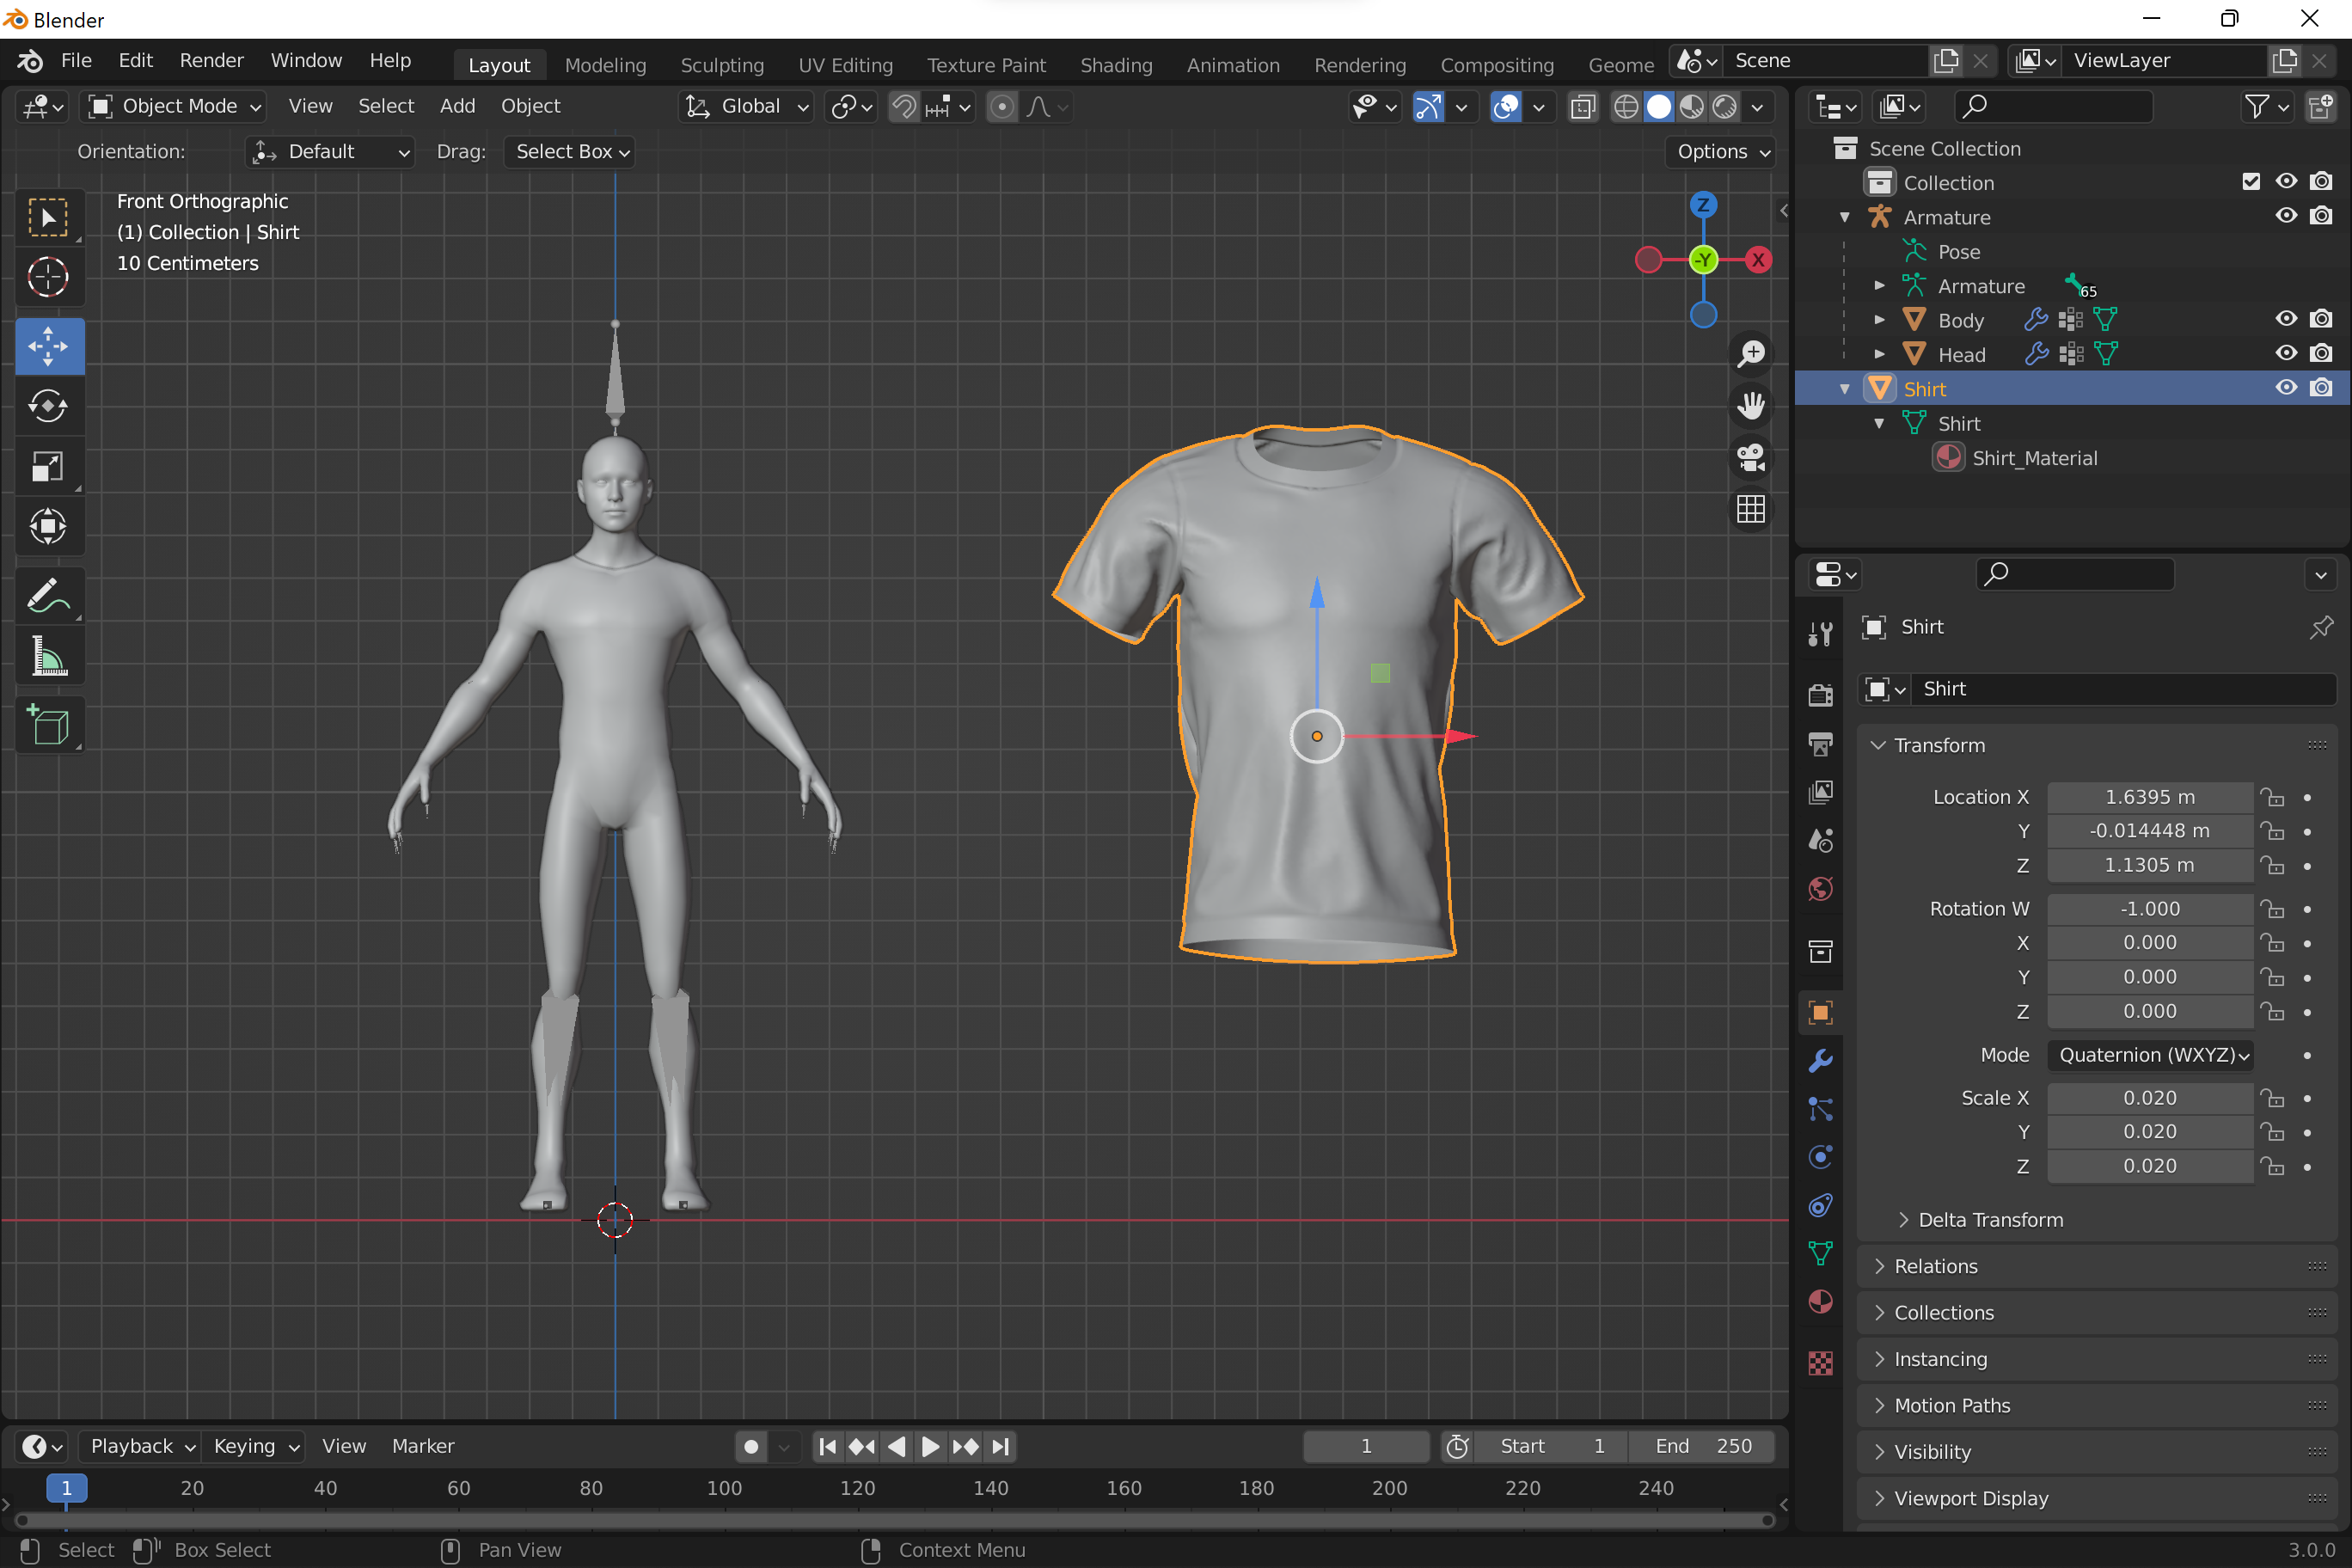
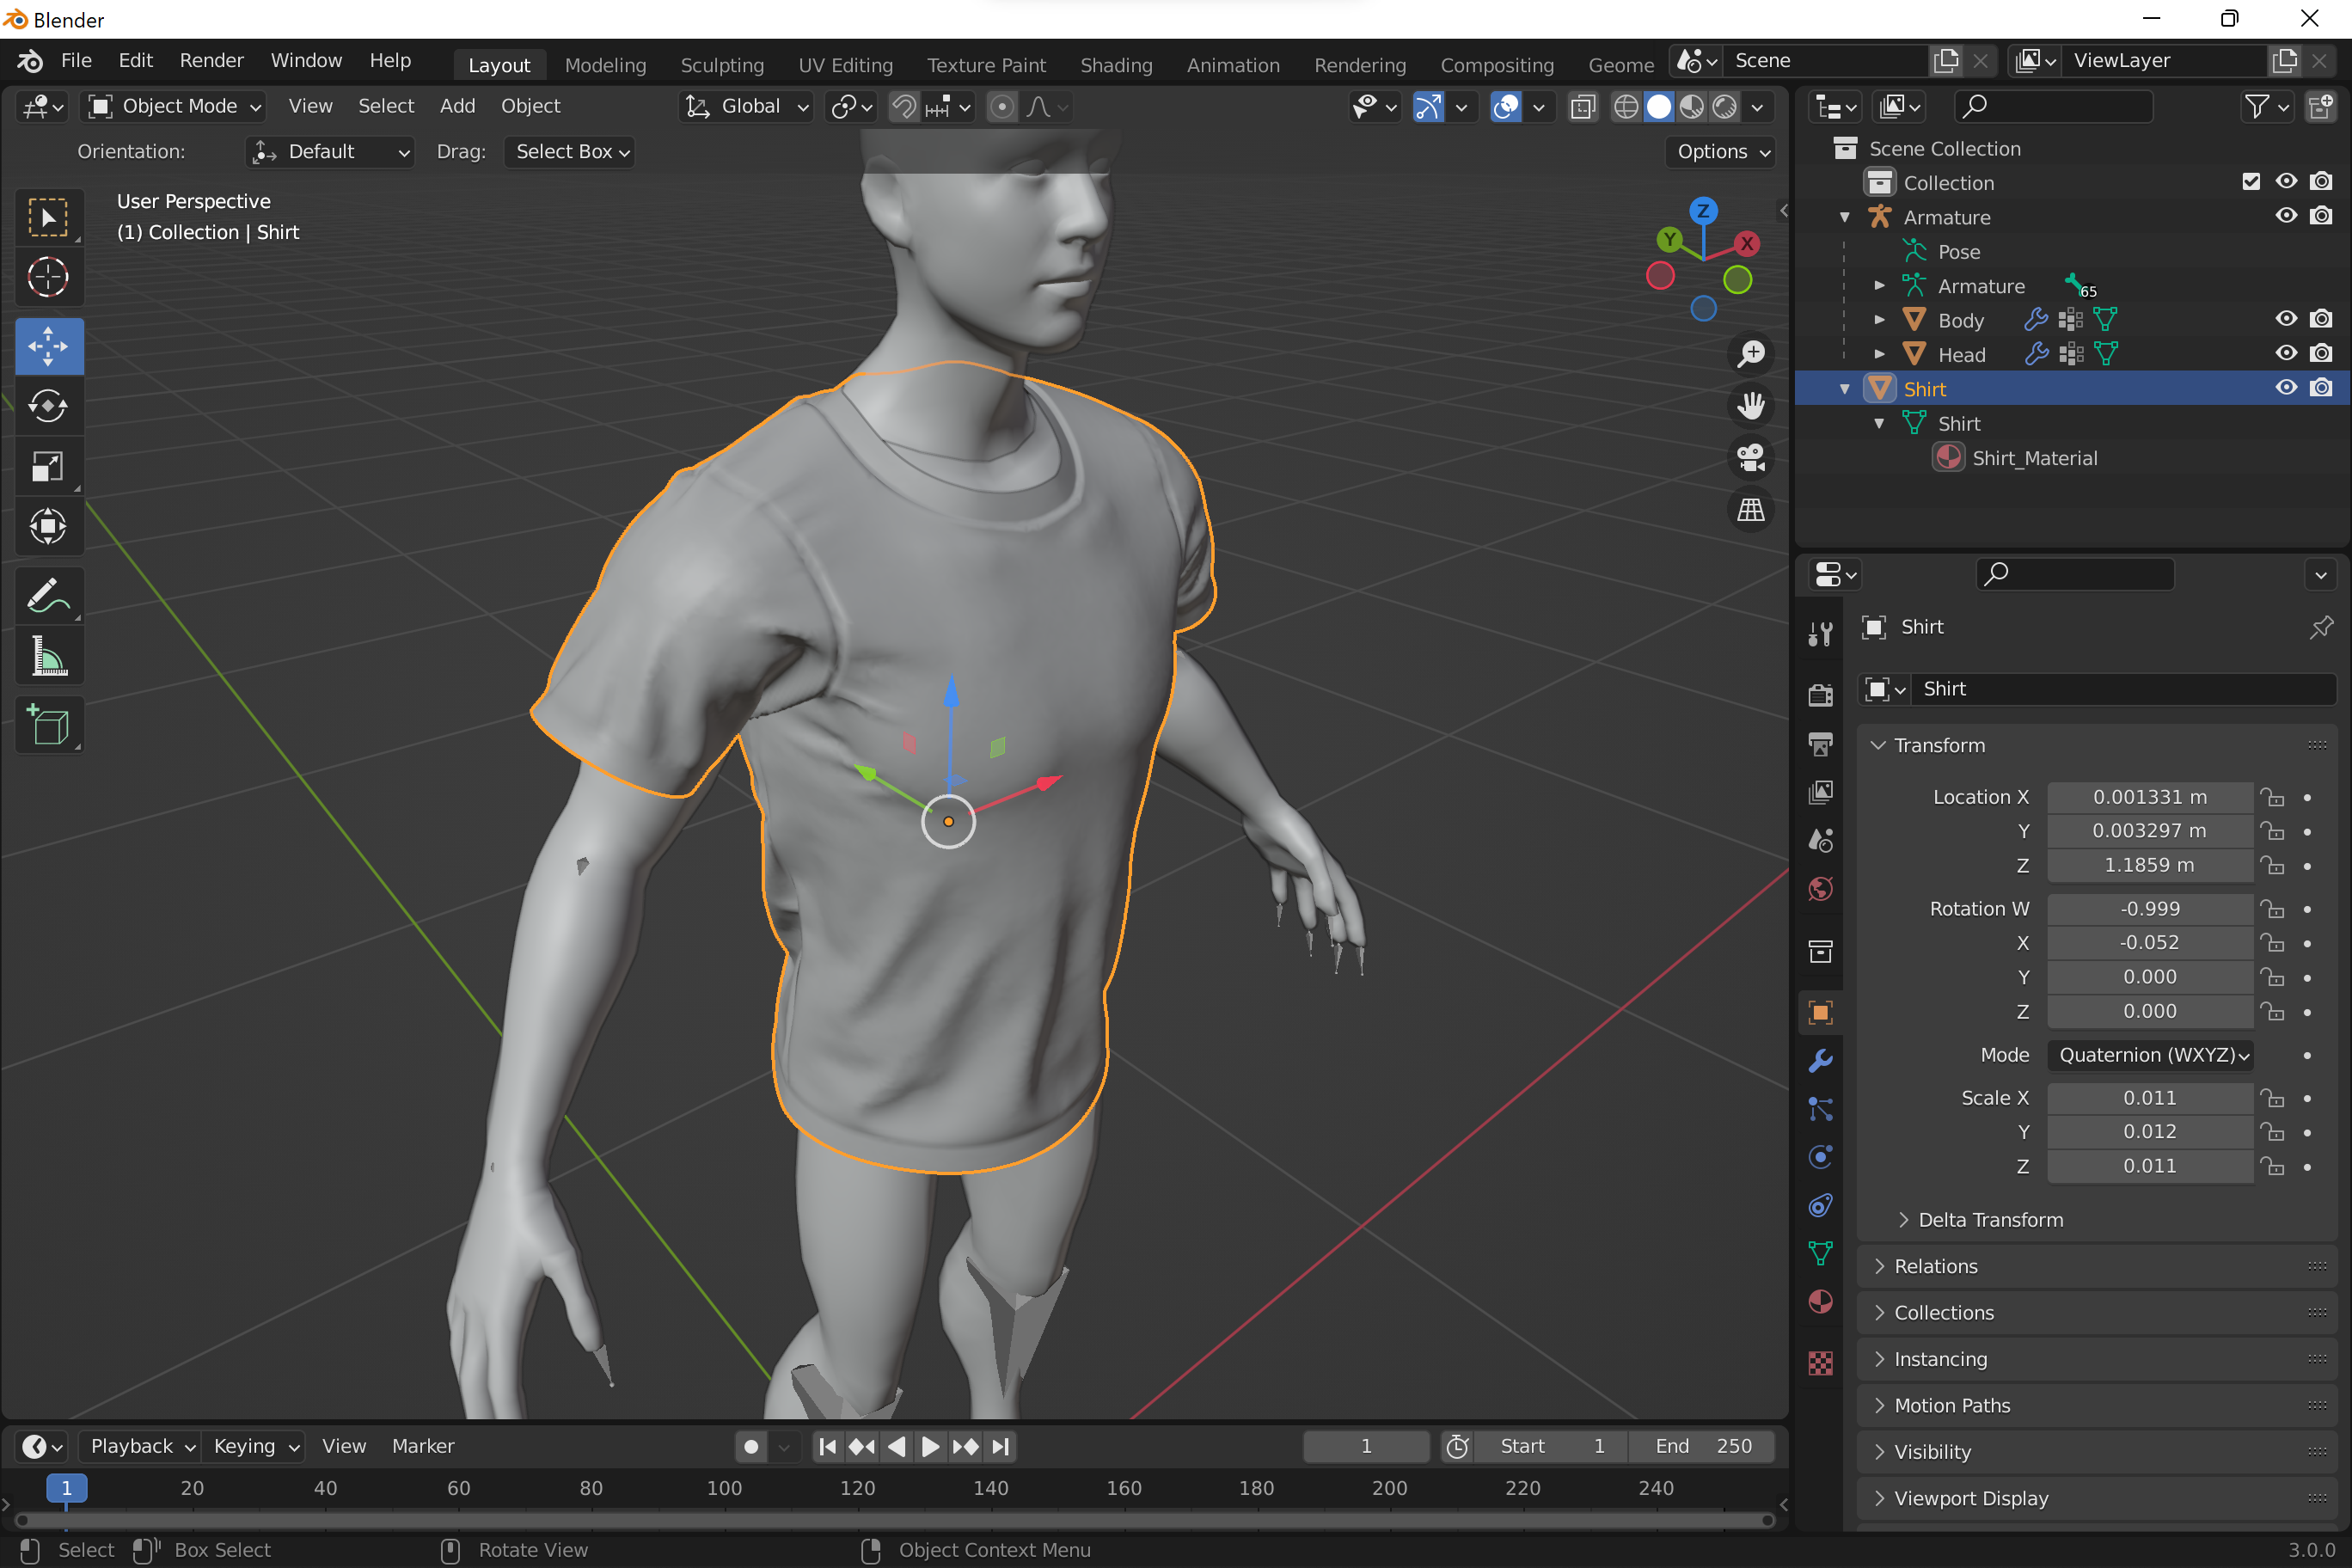
- Align the asset with the reference model as accurately as possible using translation, rotation and scale. If you’re using reference body meshes and would like to leave them as occluders make sure there’re no intersections of meshes. Minor intersections that can be removed with further pose alignment are fine.
-
Bake transformations into the mesh: select your model in Object mode and use Object -> Apply -> All Transforms.
-
Some tips on how to prepare mesh for better automatic weighting:
- Automatic weighting works best if model is initially in T-pose.
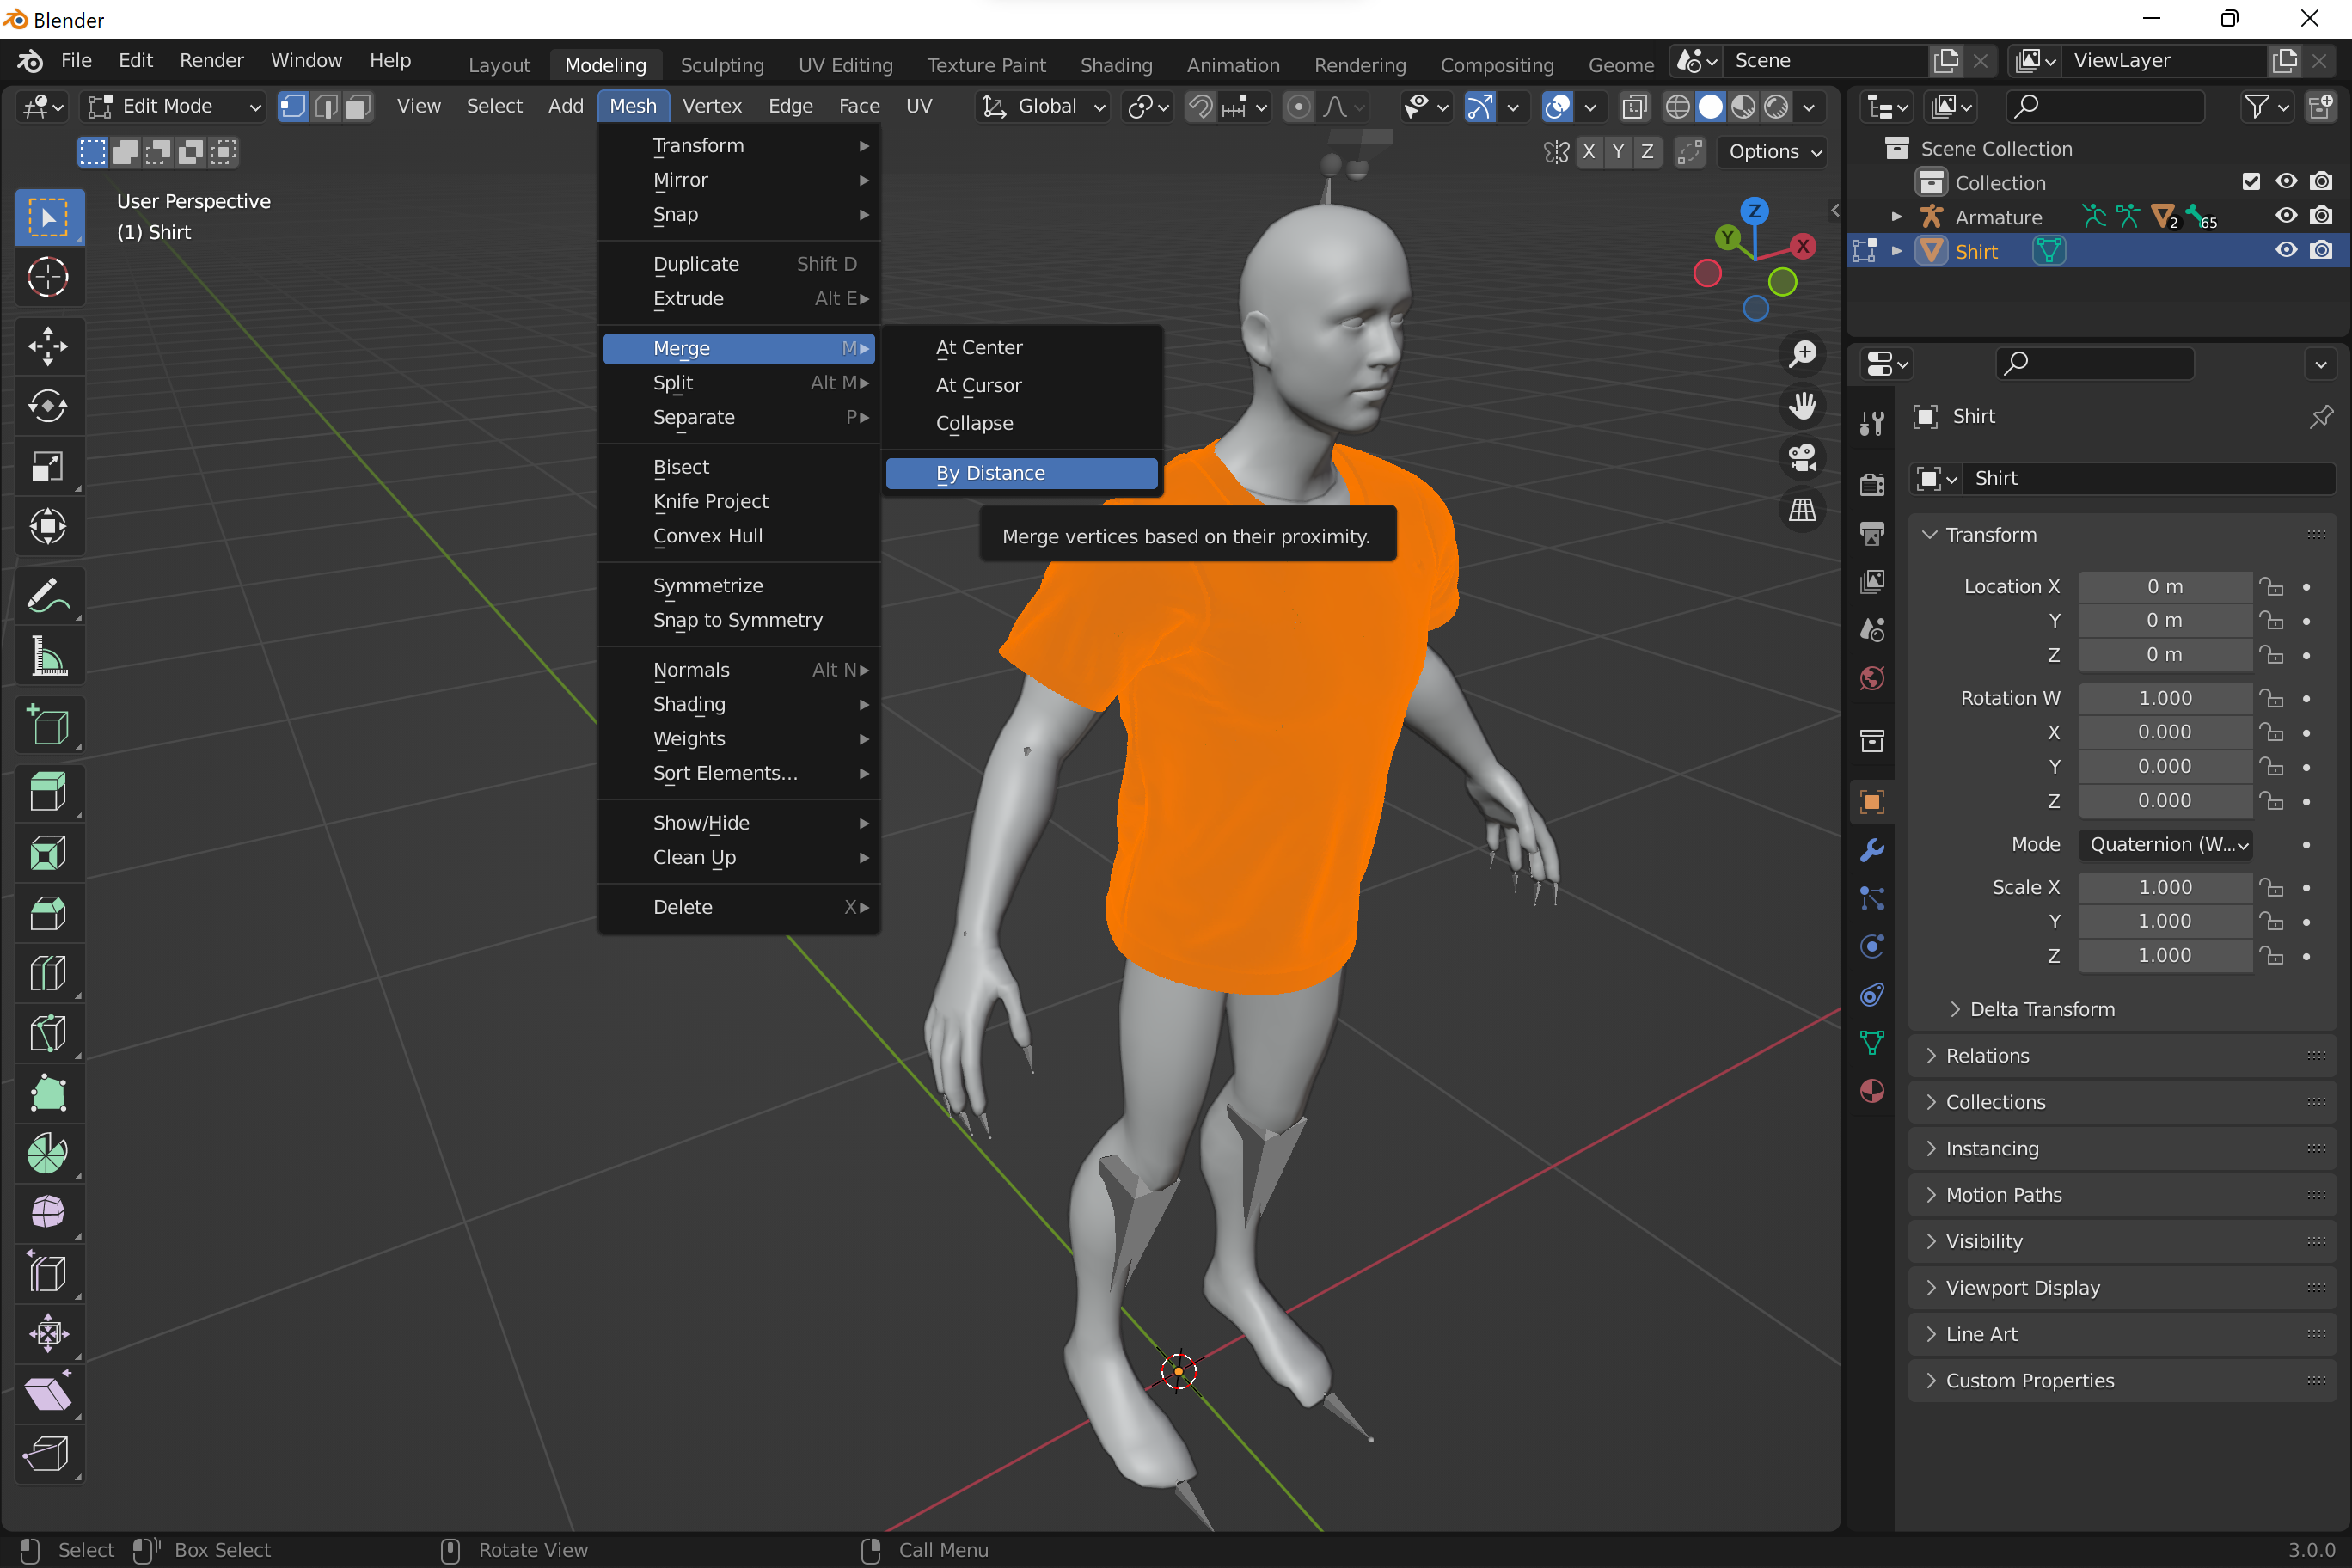
- Remove holes in the mesh - make sure all the vertices on your mesh are welded/merged together. You can use Merge By Distance tool available in Modeling mode (Mesh -> Merge -> By Distance).
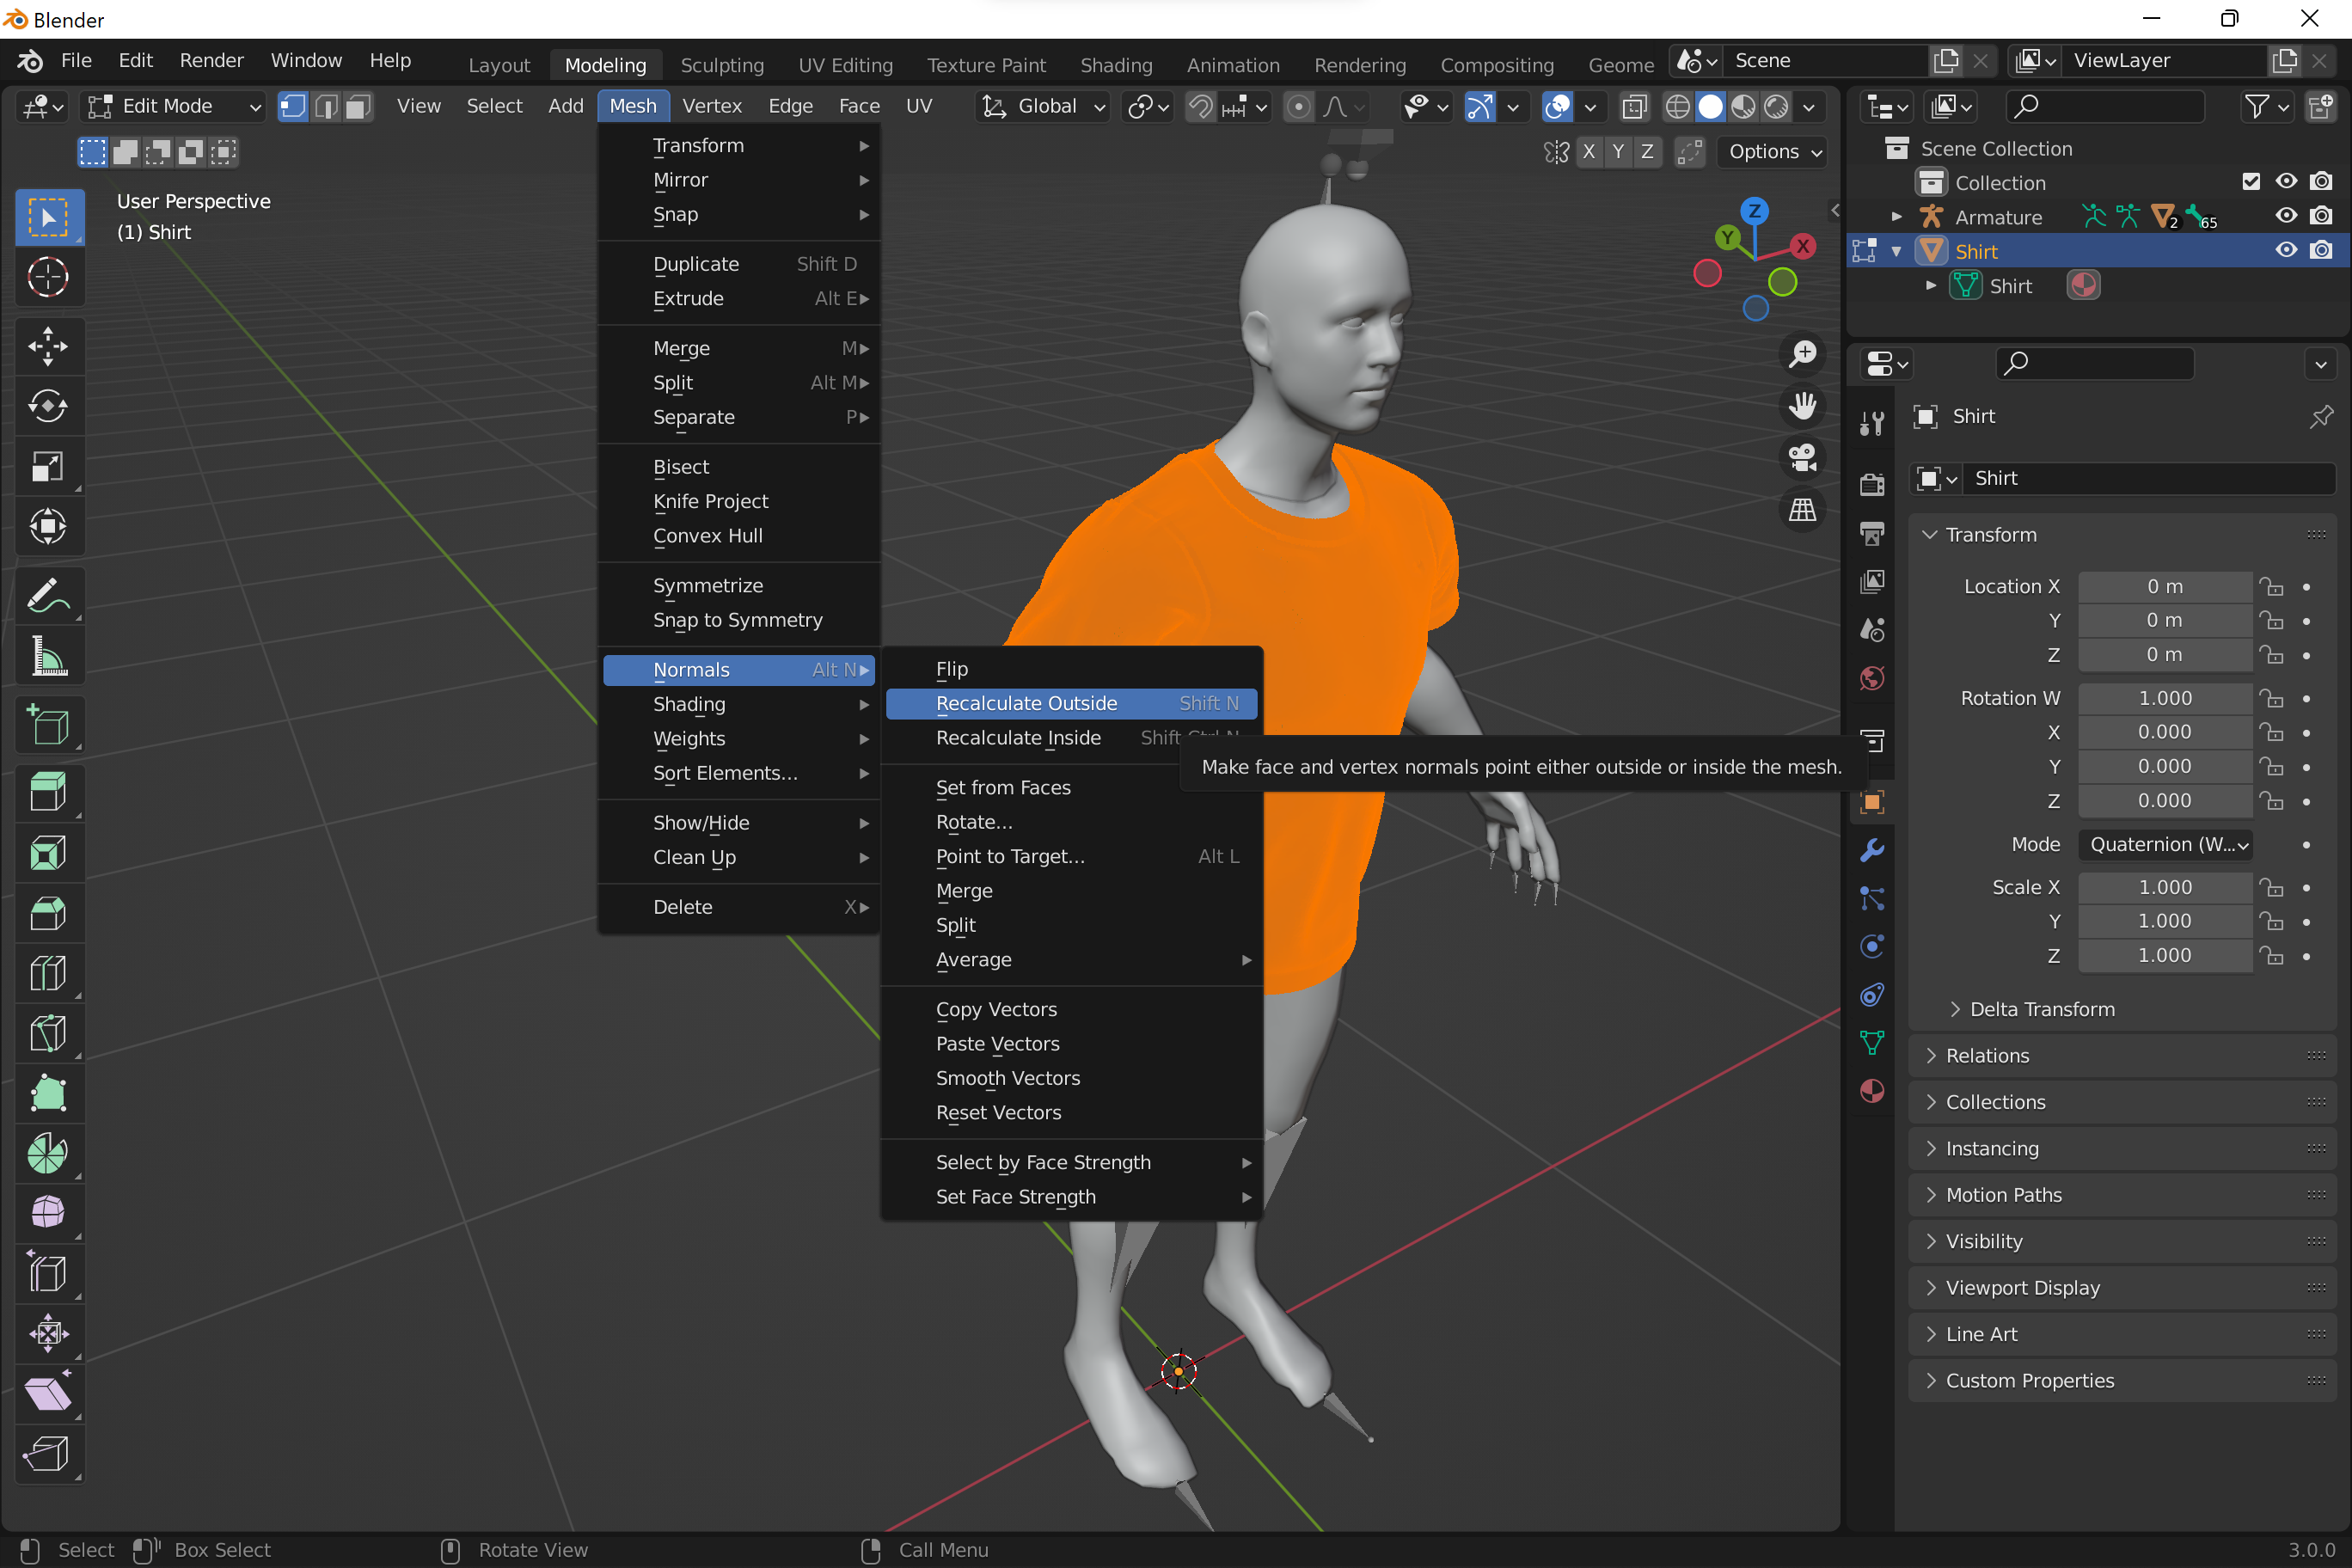
- Recalculate normals. In Modeling mode, select all vertices and use Mesh -> Normals -> Recalculate Outside
-
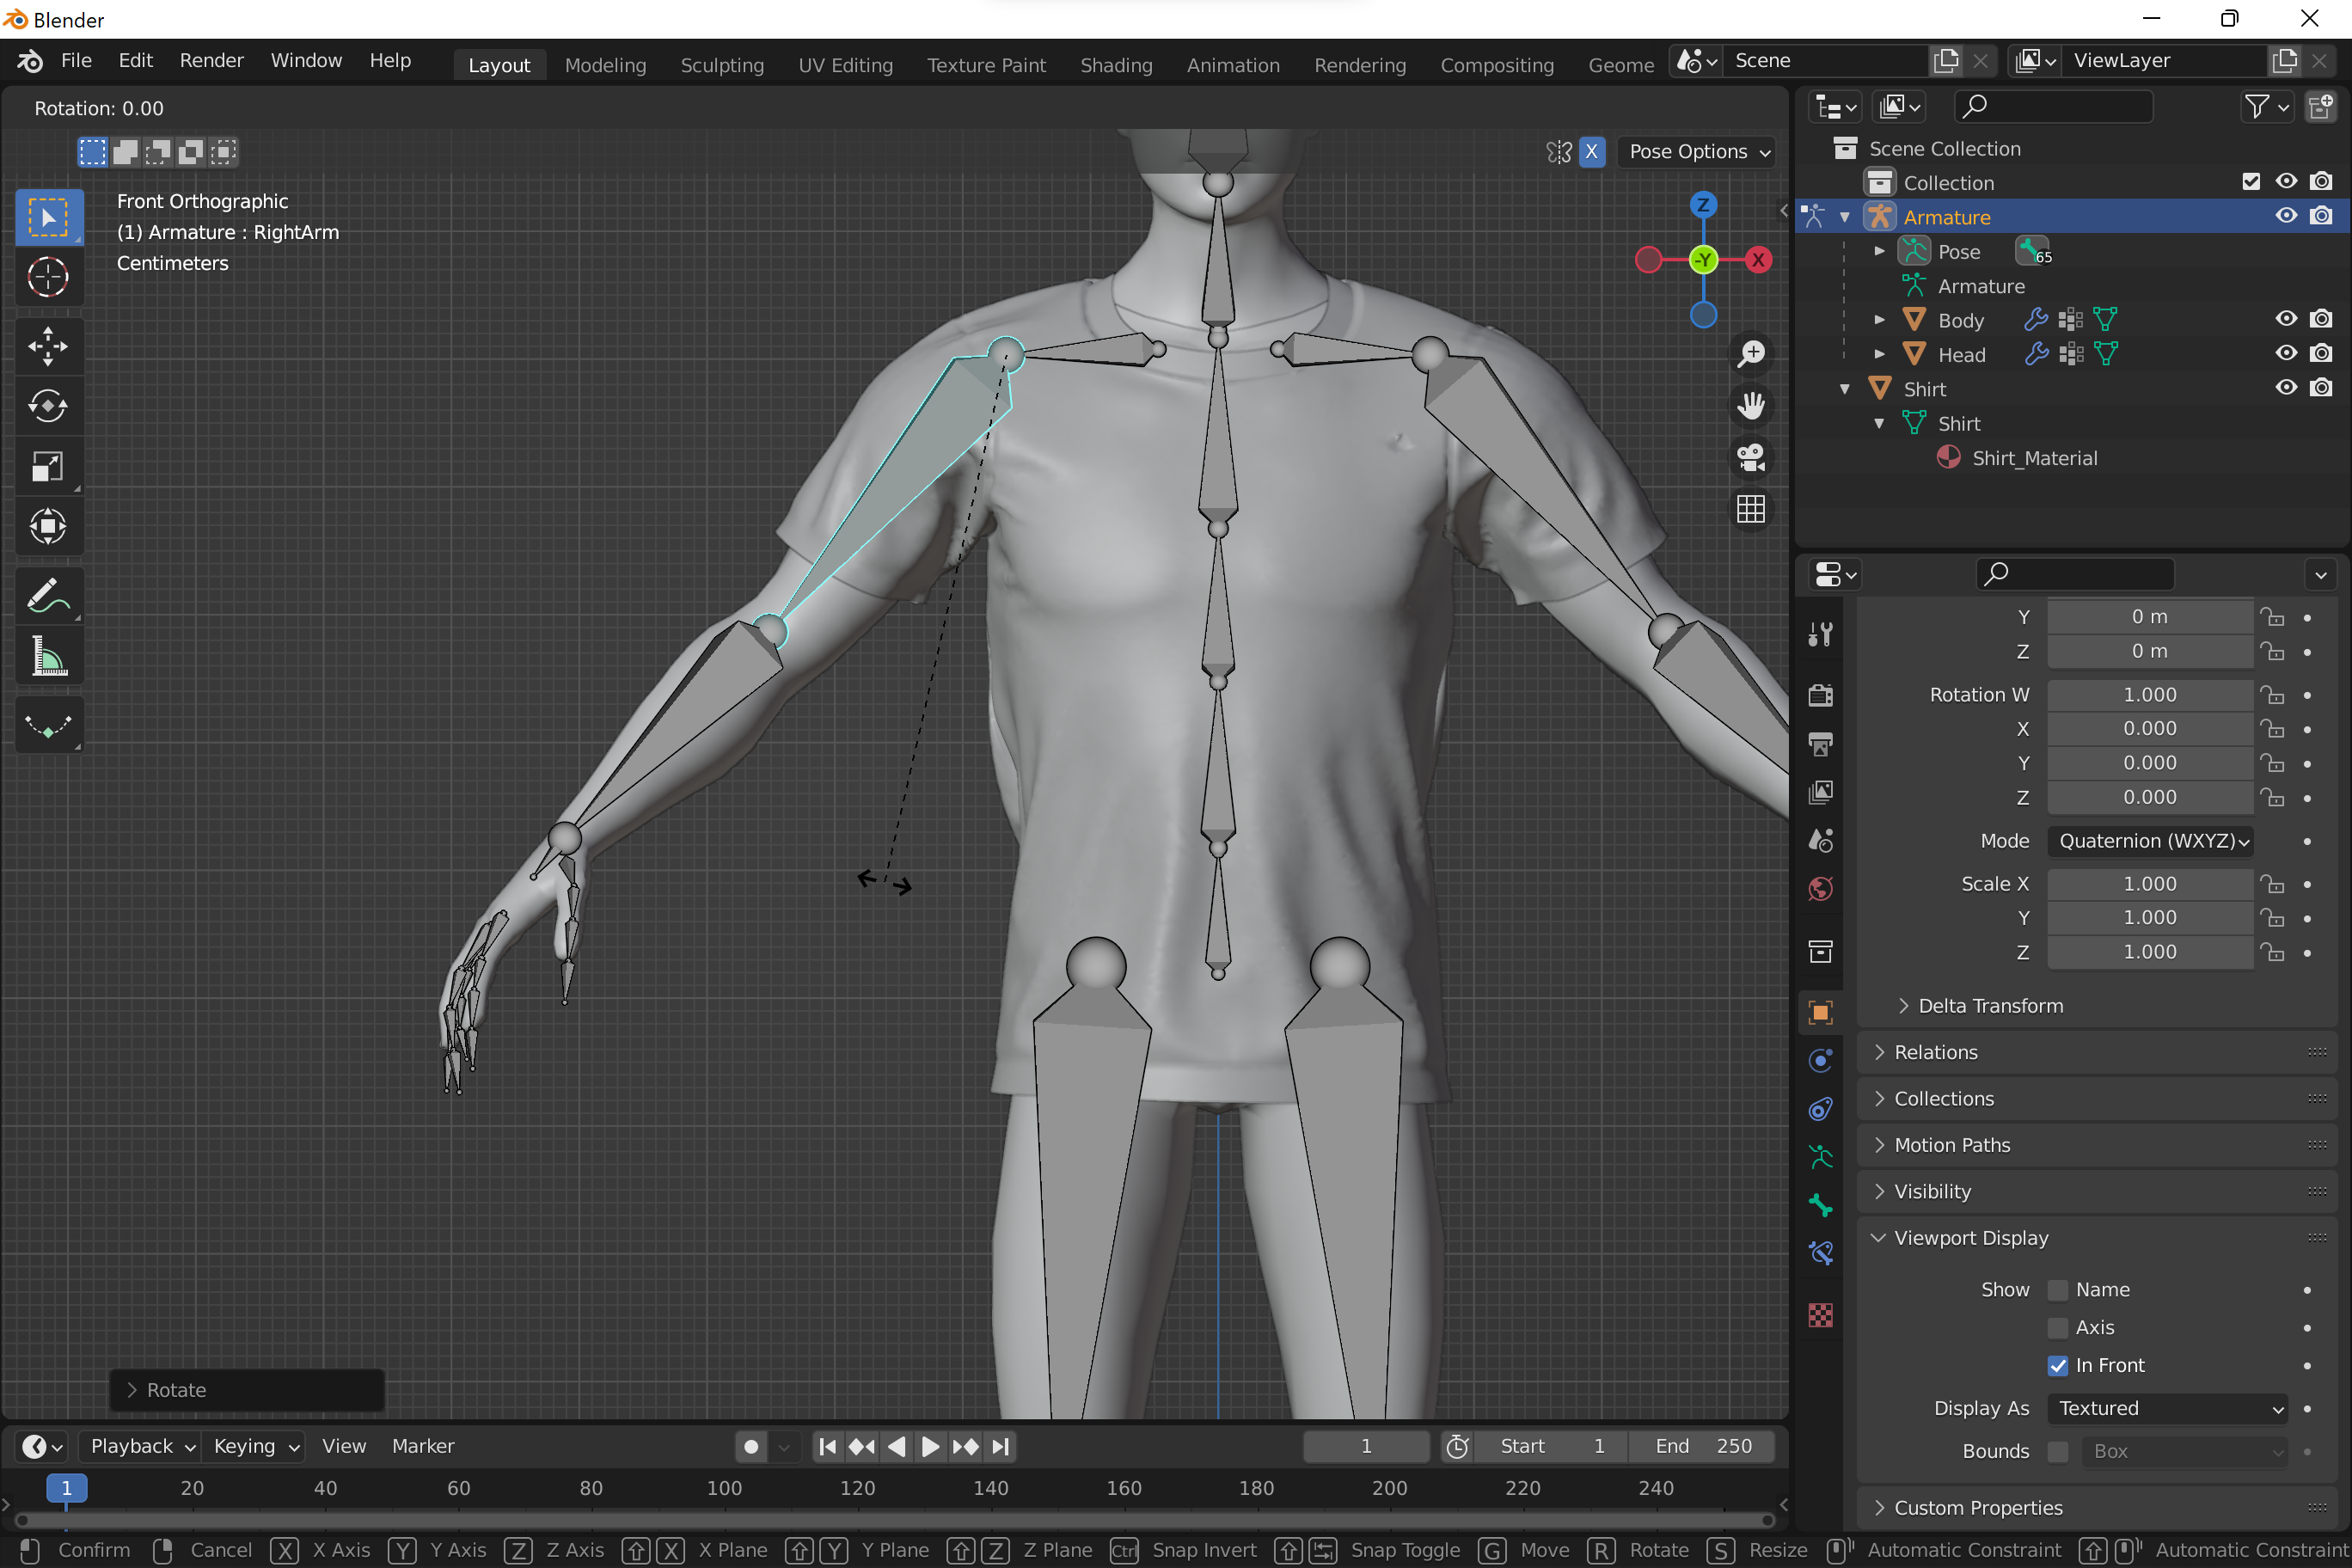
Now it’s time to align armature’s pose with the model. It’s easier to use reference body mesh at this stage. It’ll give you sense or body part sizes. Moreover reference mesh can be left in the scene and later be used as an occluder.
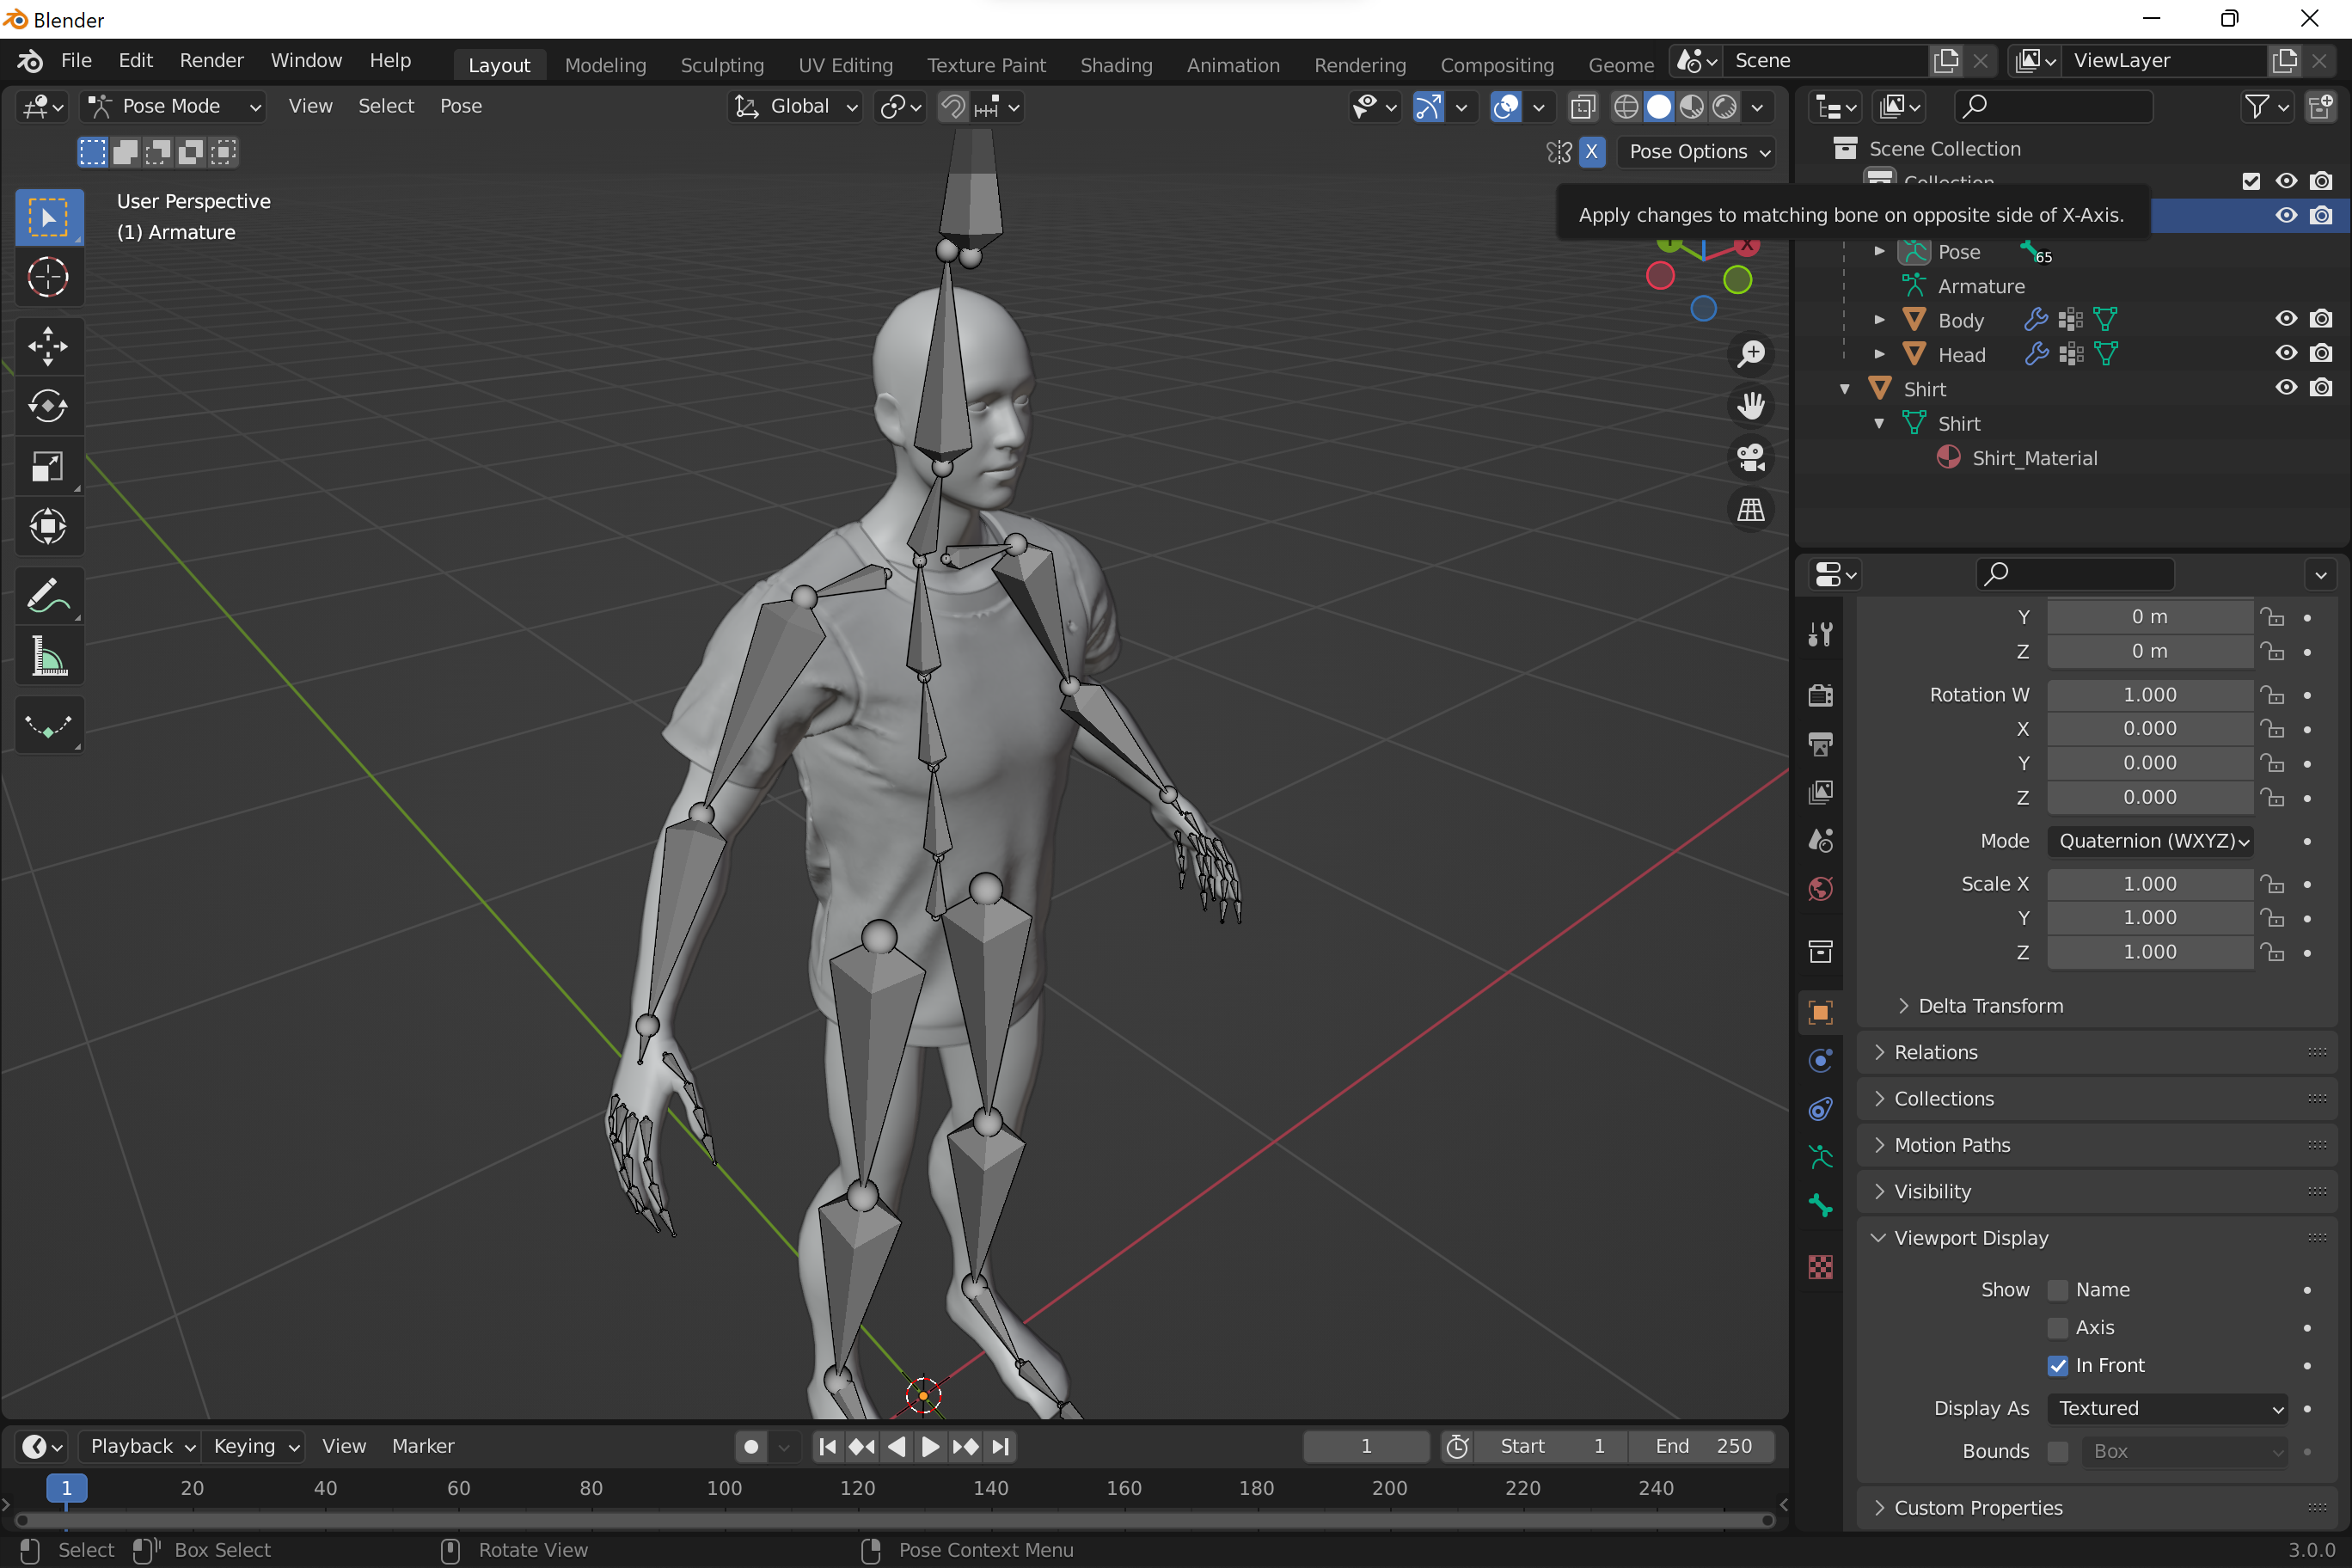
- In Pose mode rotate bones to align armature with the model.
-
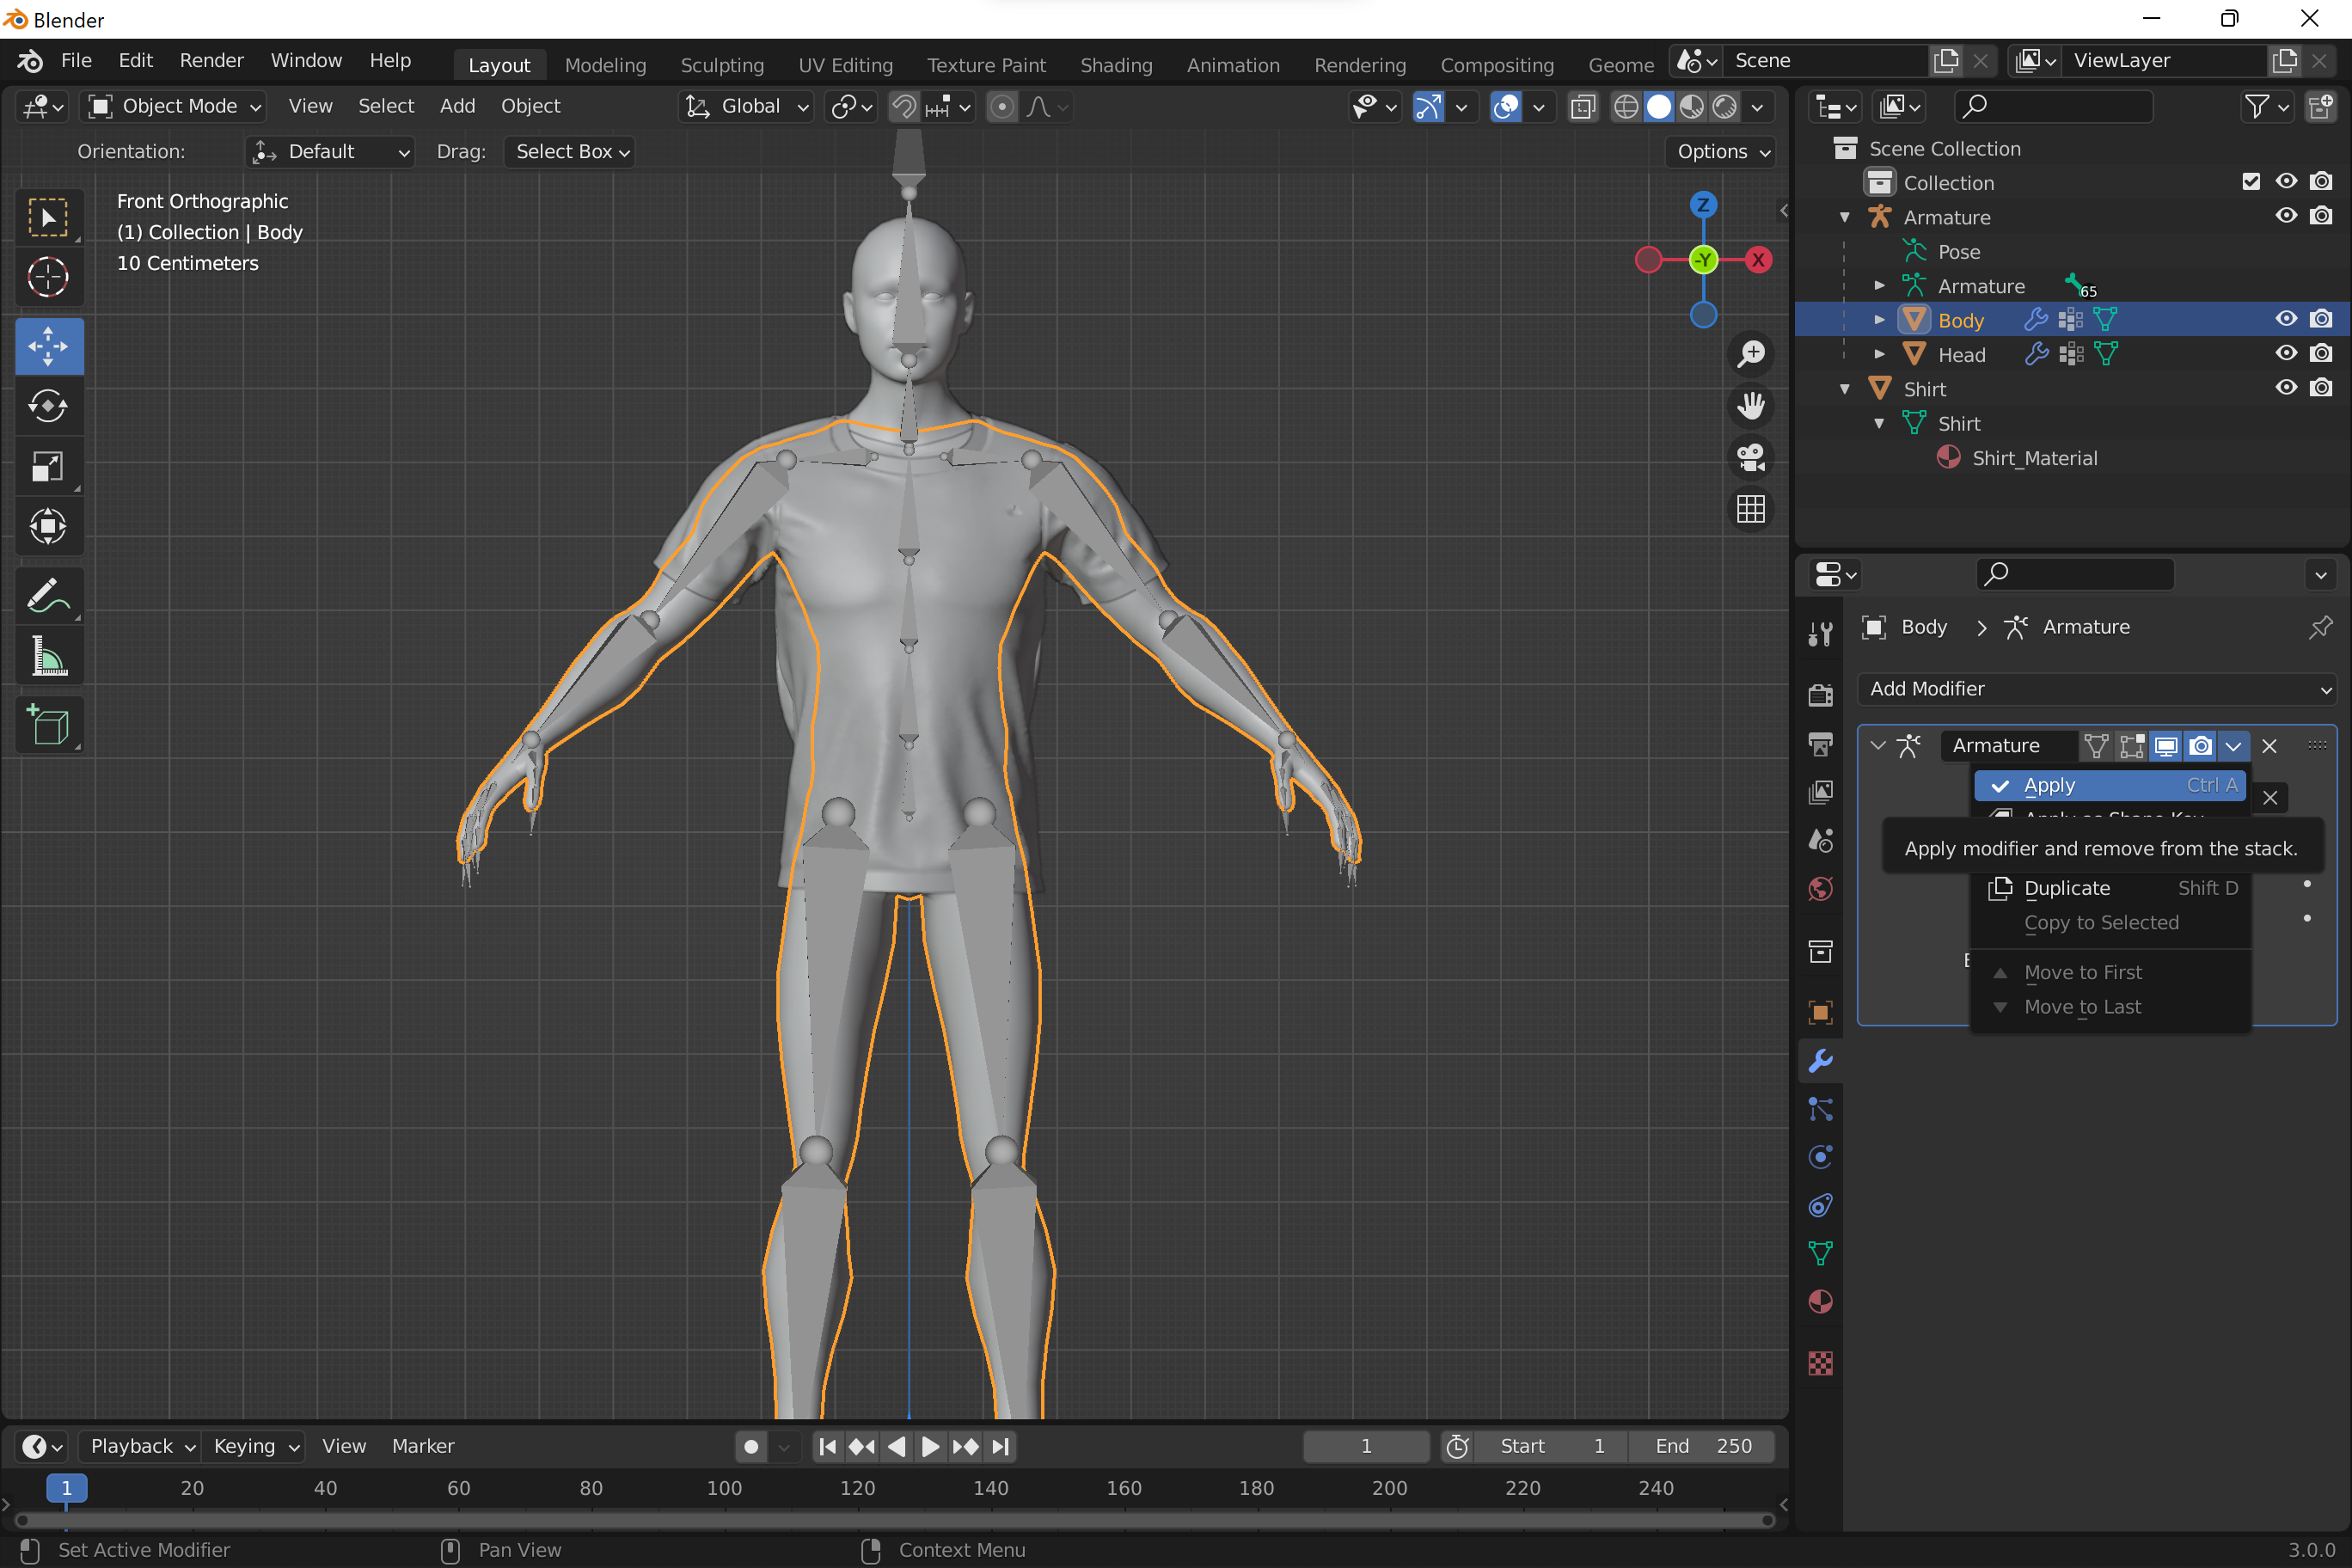
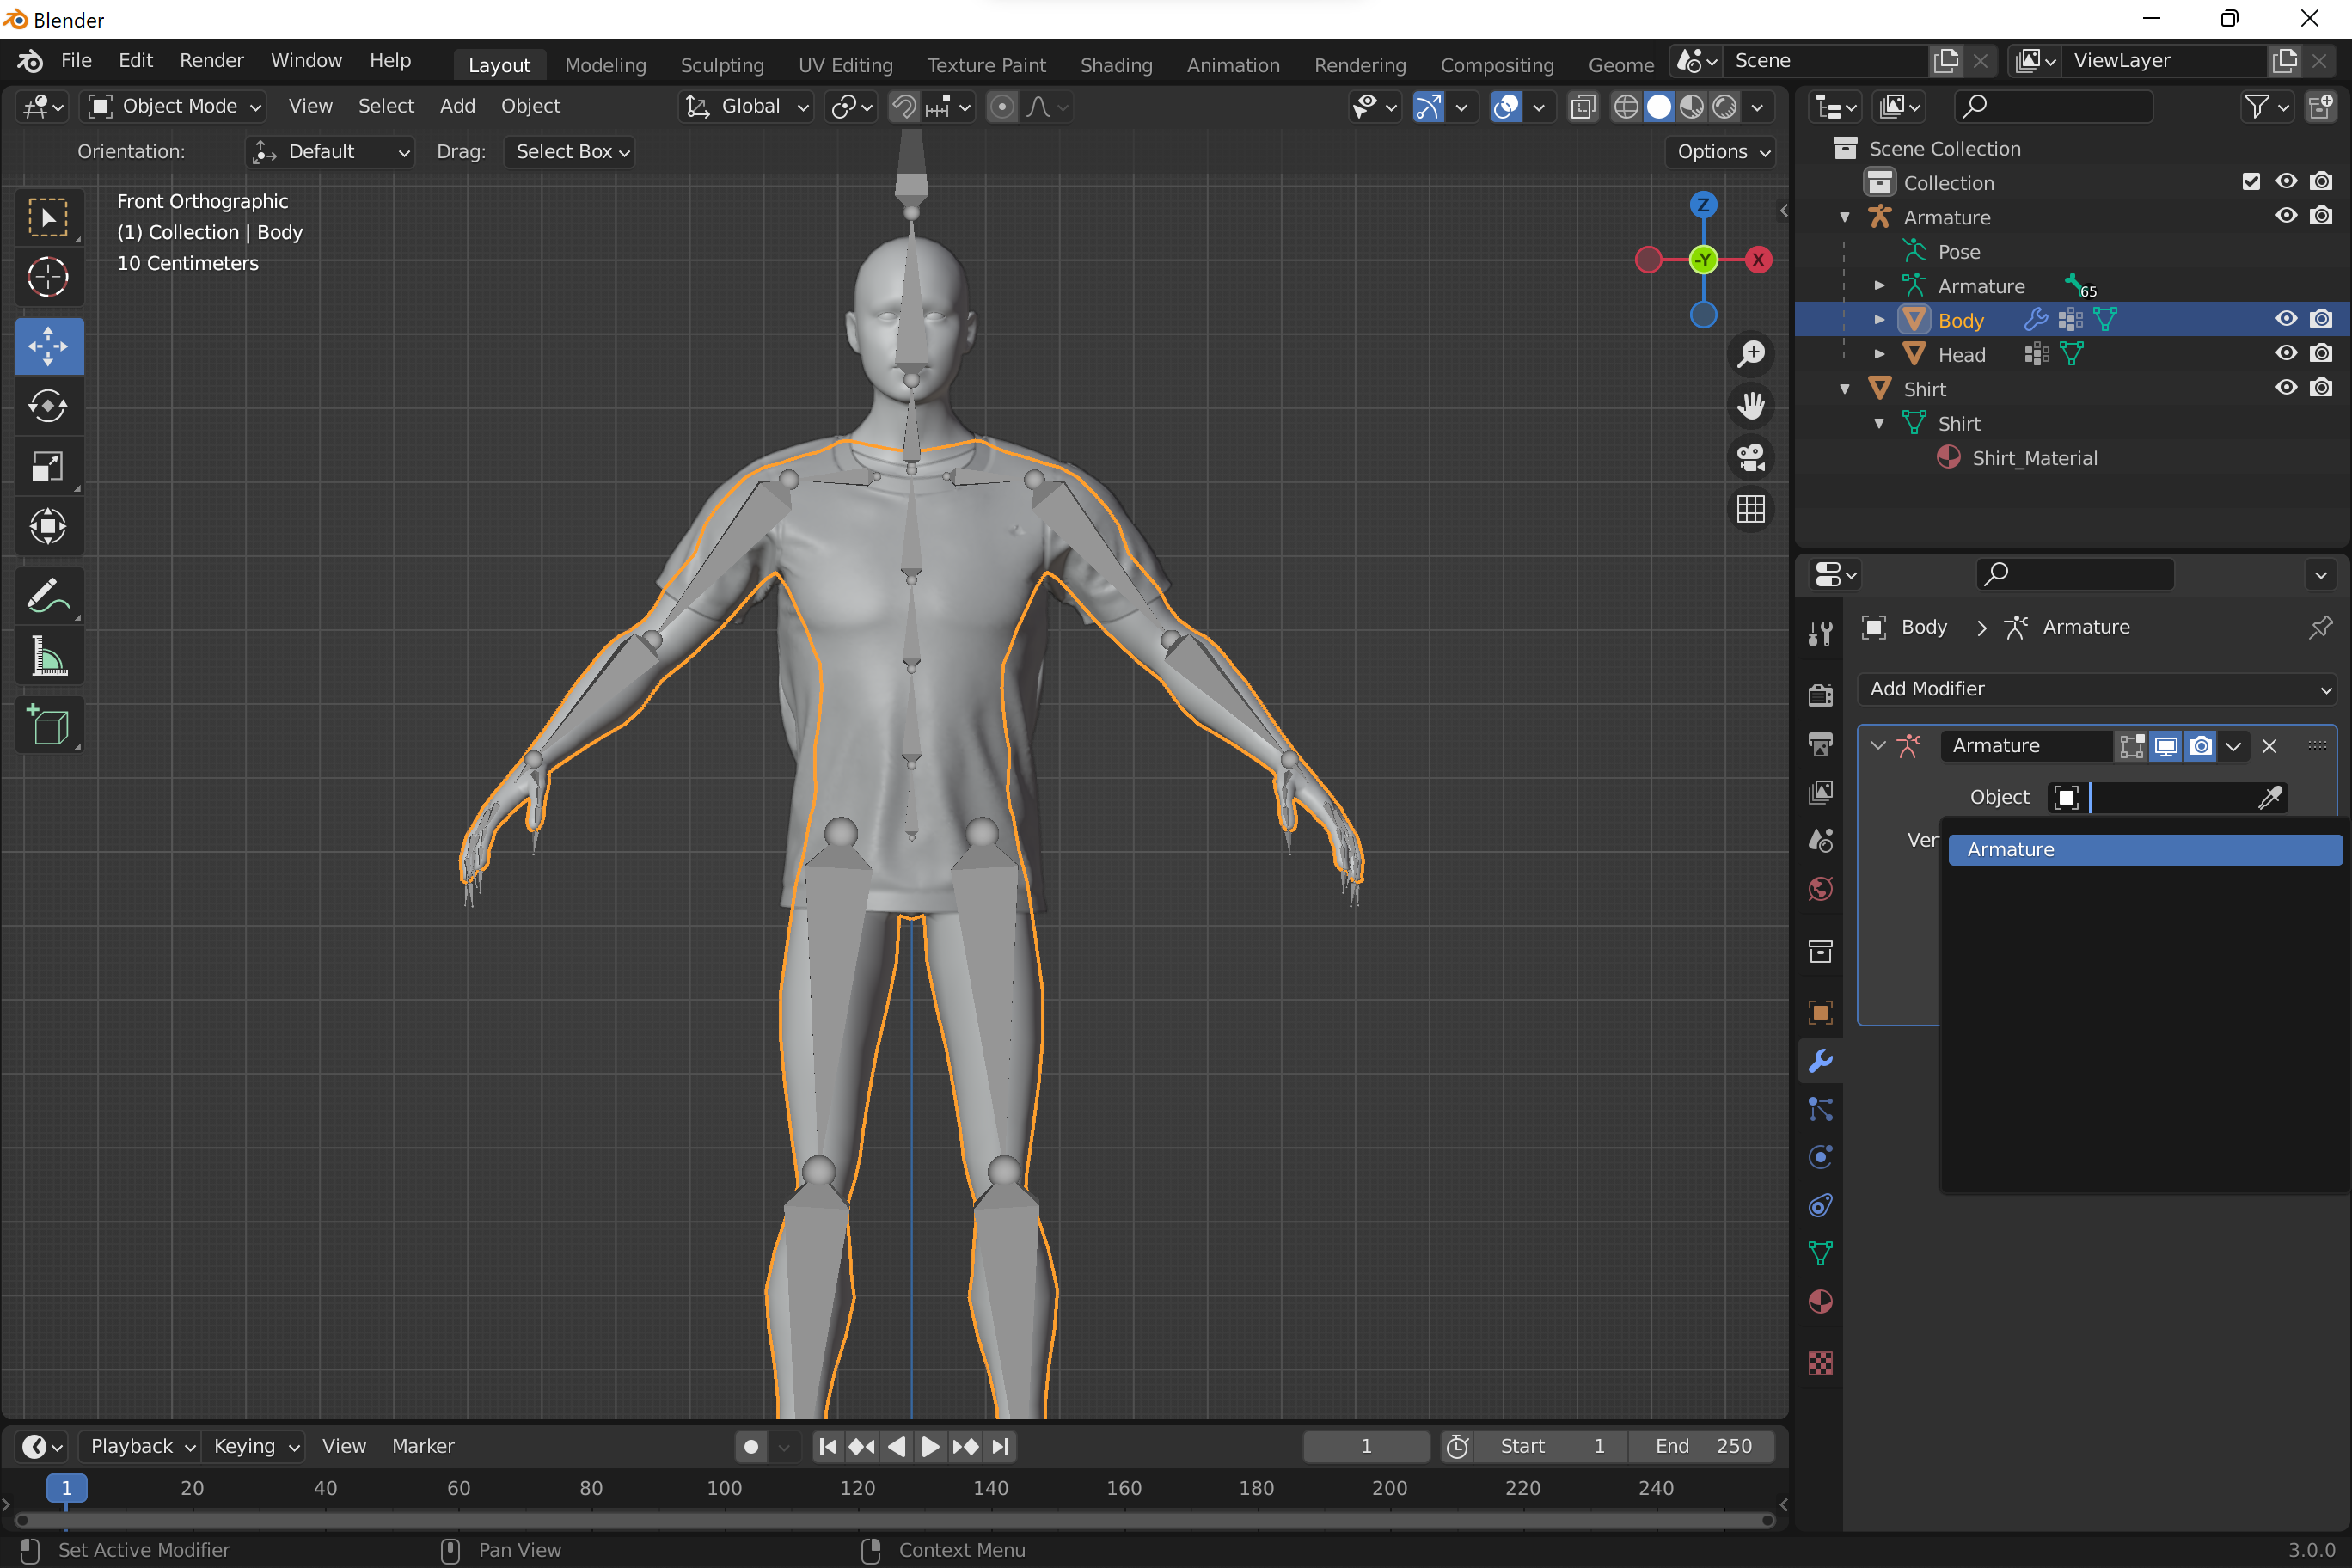
If you are using reference model with a mesh, e.g. reference body model (not armature-only), and intend to use it as occluder, it may be needed to apply the pose modifier to the mesh before setting rest pose:
- In Object mode select reference model.
- Go to its modifiers and apply Armature.
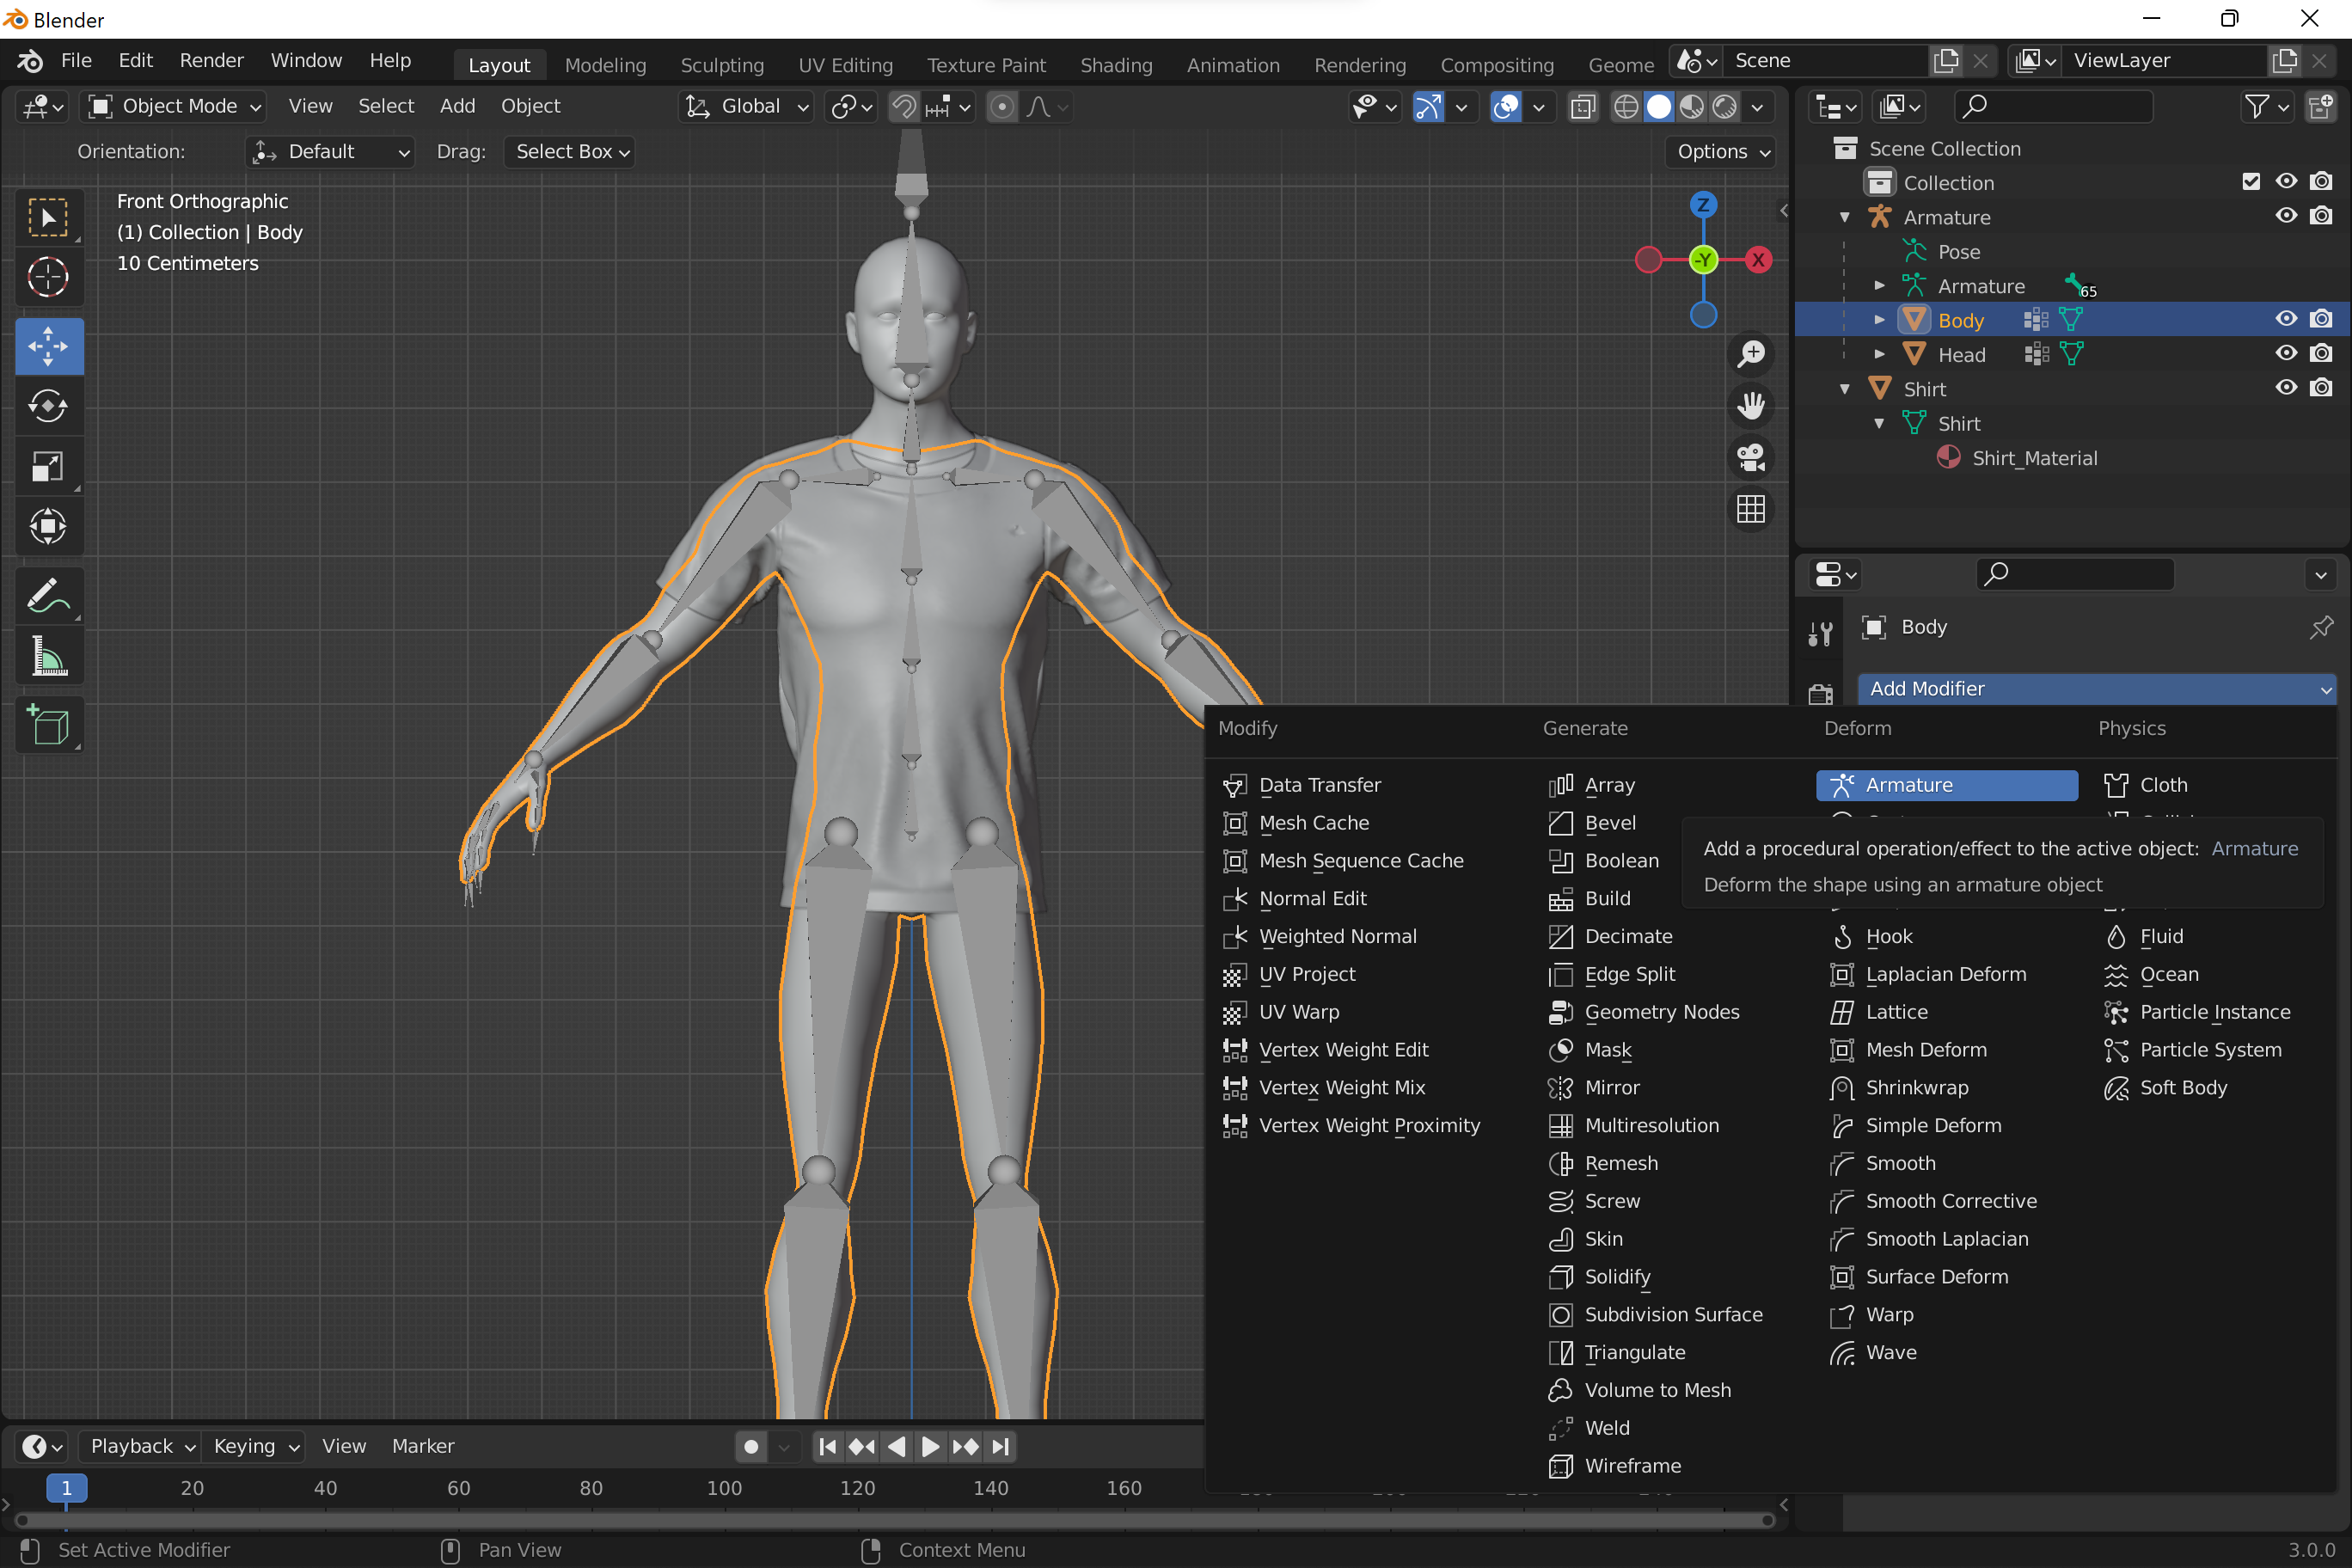
- Make current pose the rest pose as described next.
- Go back to object modifiers and set Armature back.
- Now the base model has a new rest pose. Test it in the Pose mode.
-
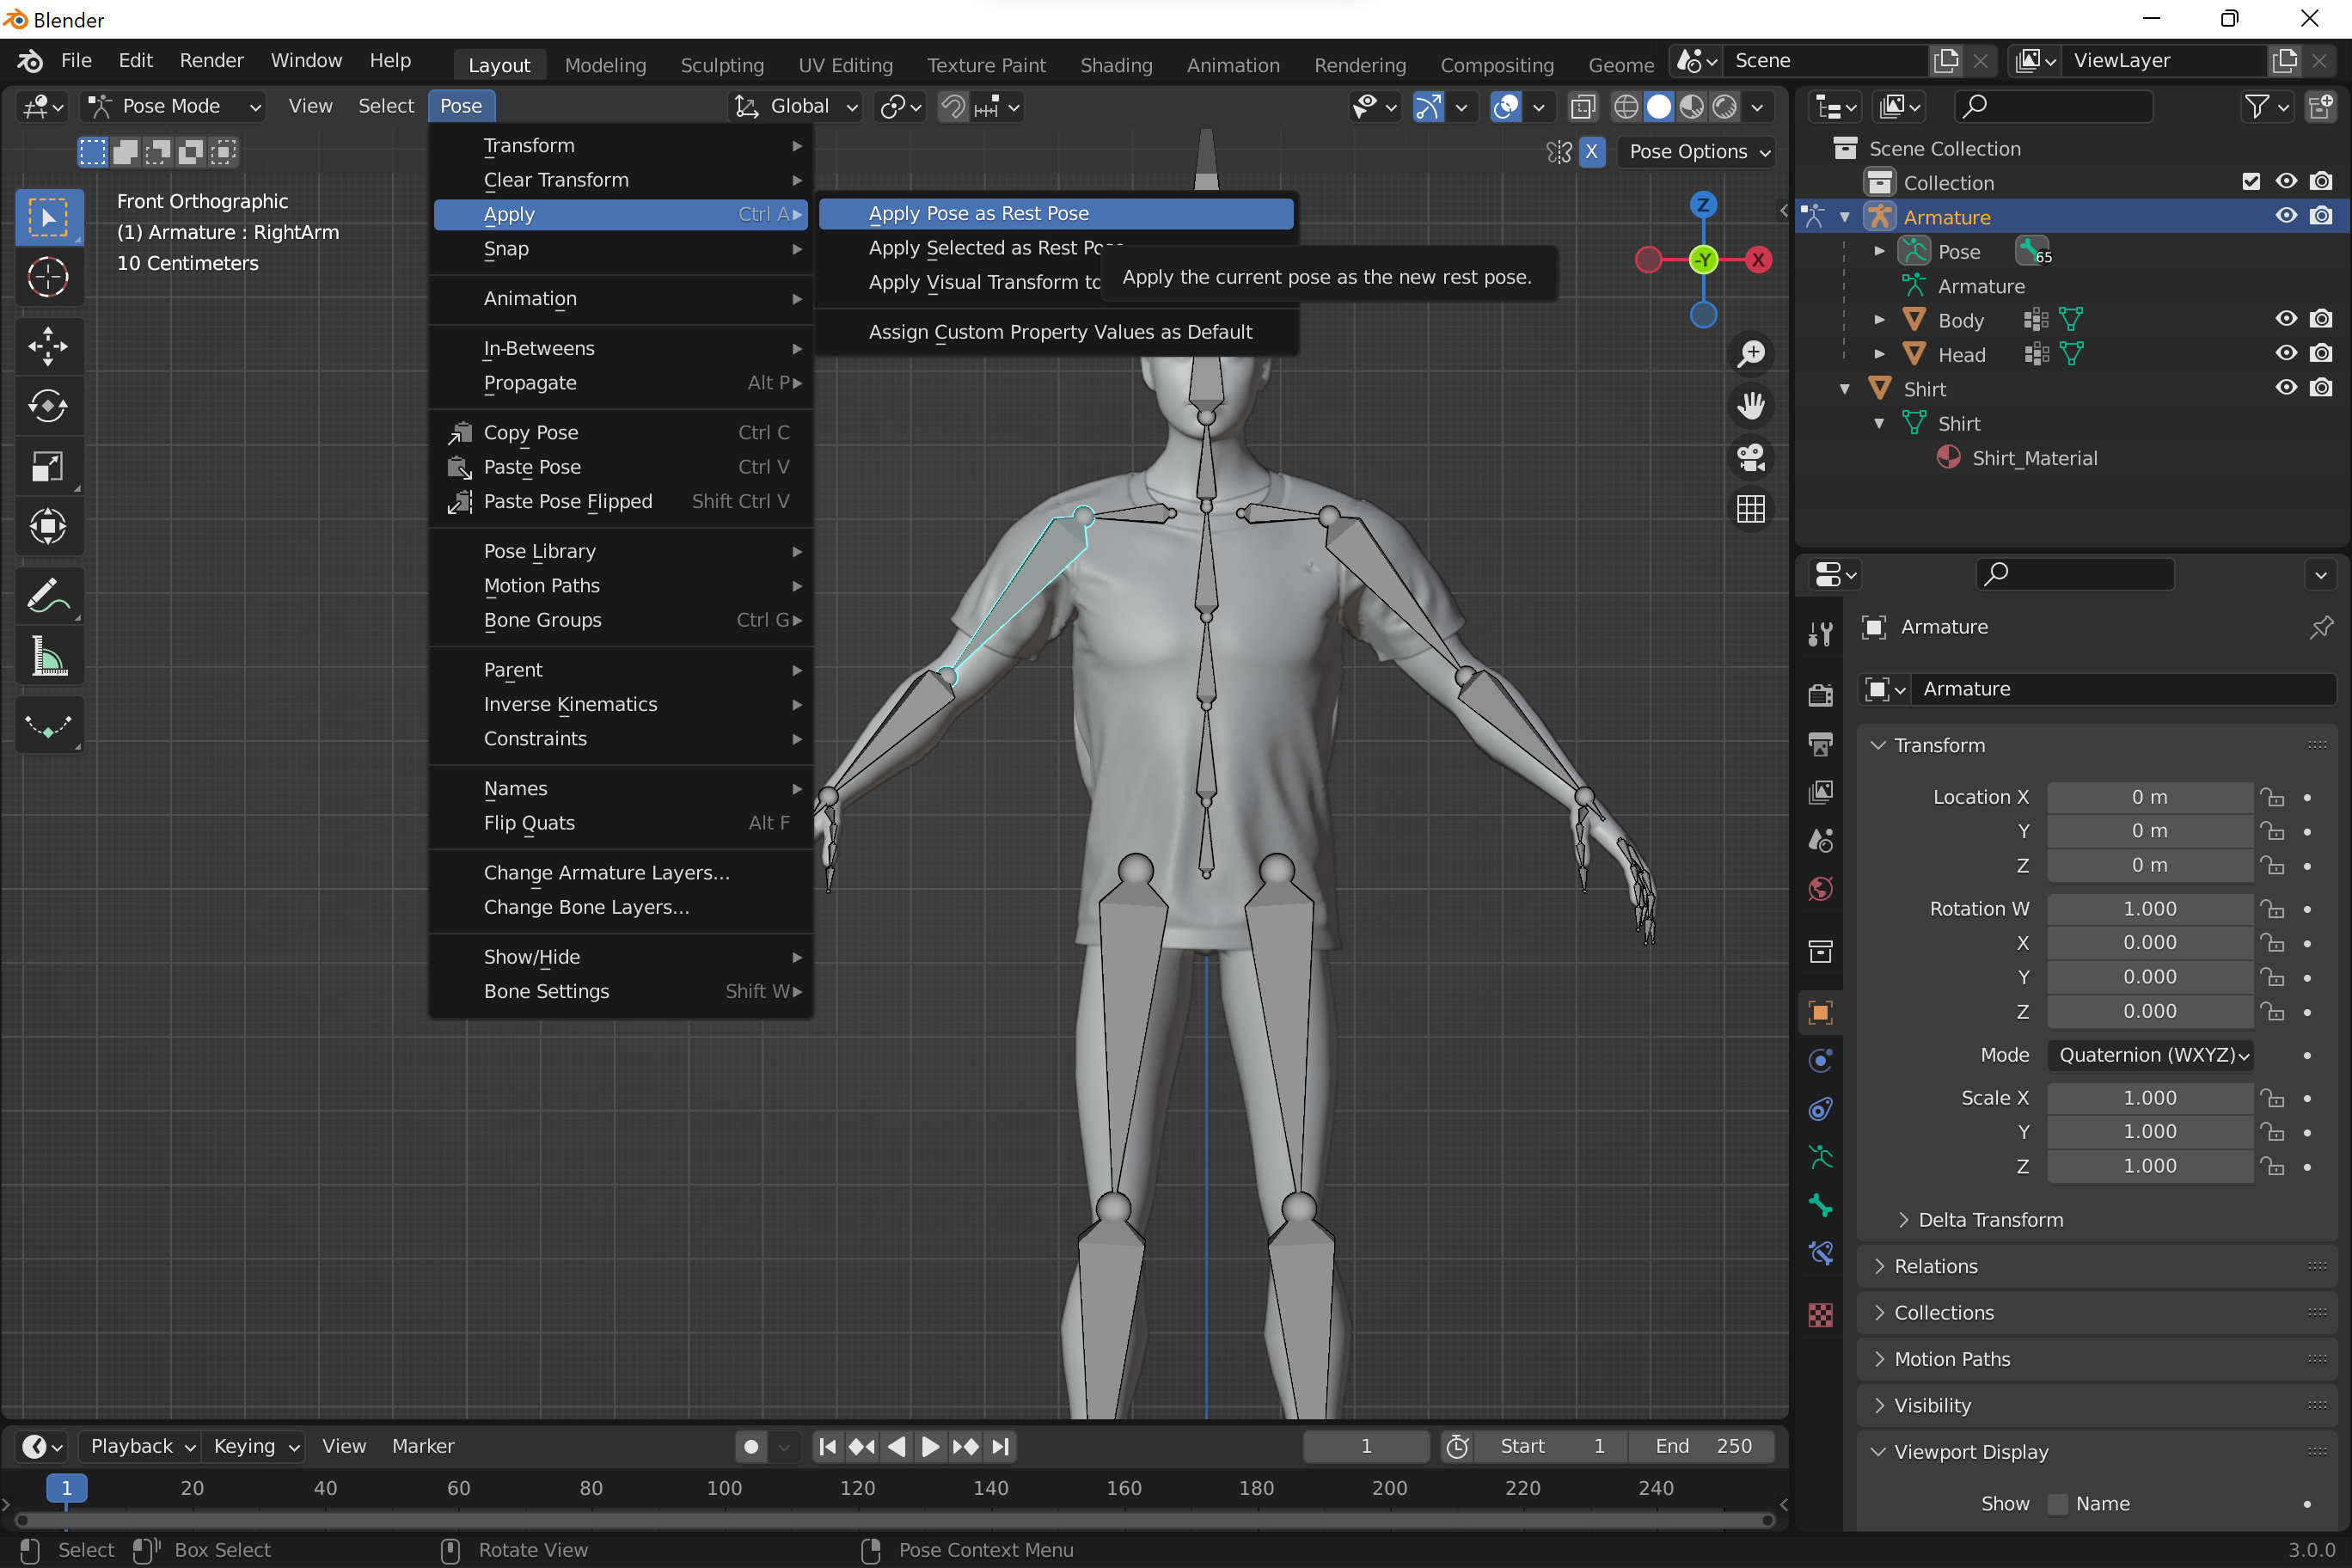
Make aligned pose the rest pose:
- Pose -> Apply -> Apply Visual Transform to Pose.
- Pose -> Apply -> Apply Pose as Rest Pose.
-
When everything is aligned it’s time to skin your model.
-
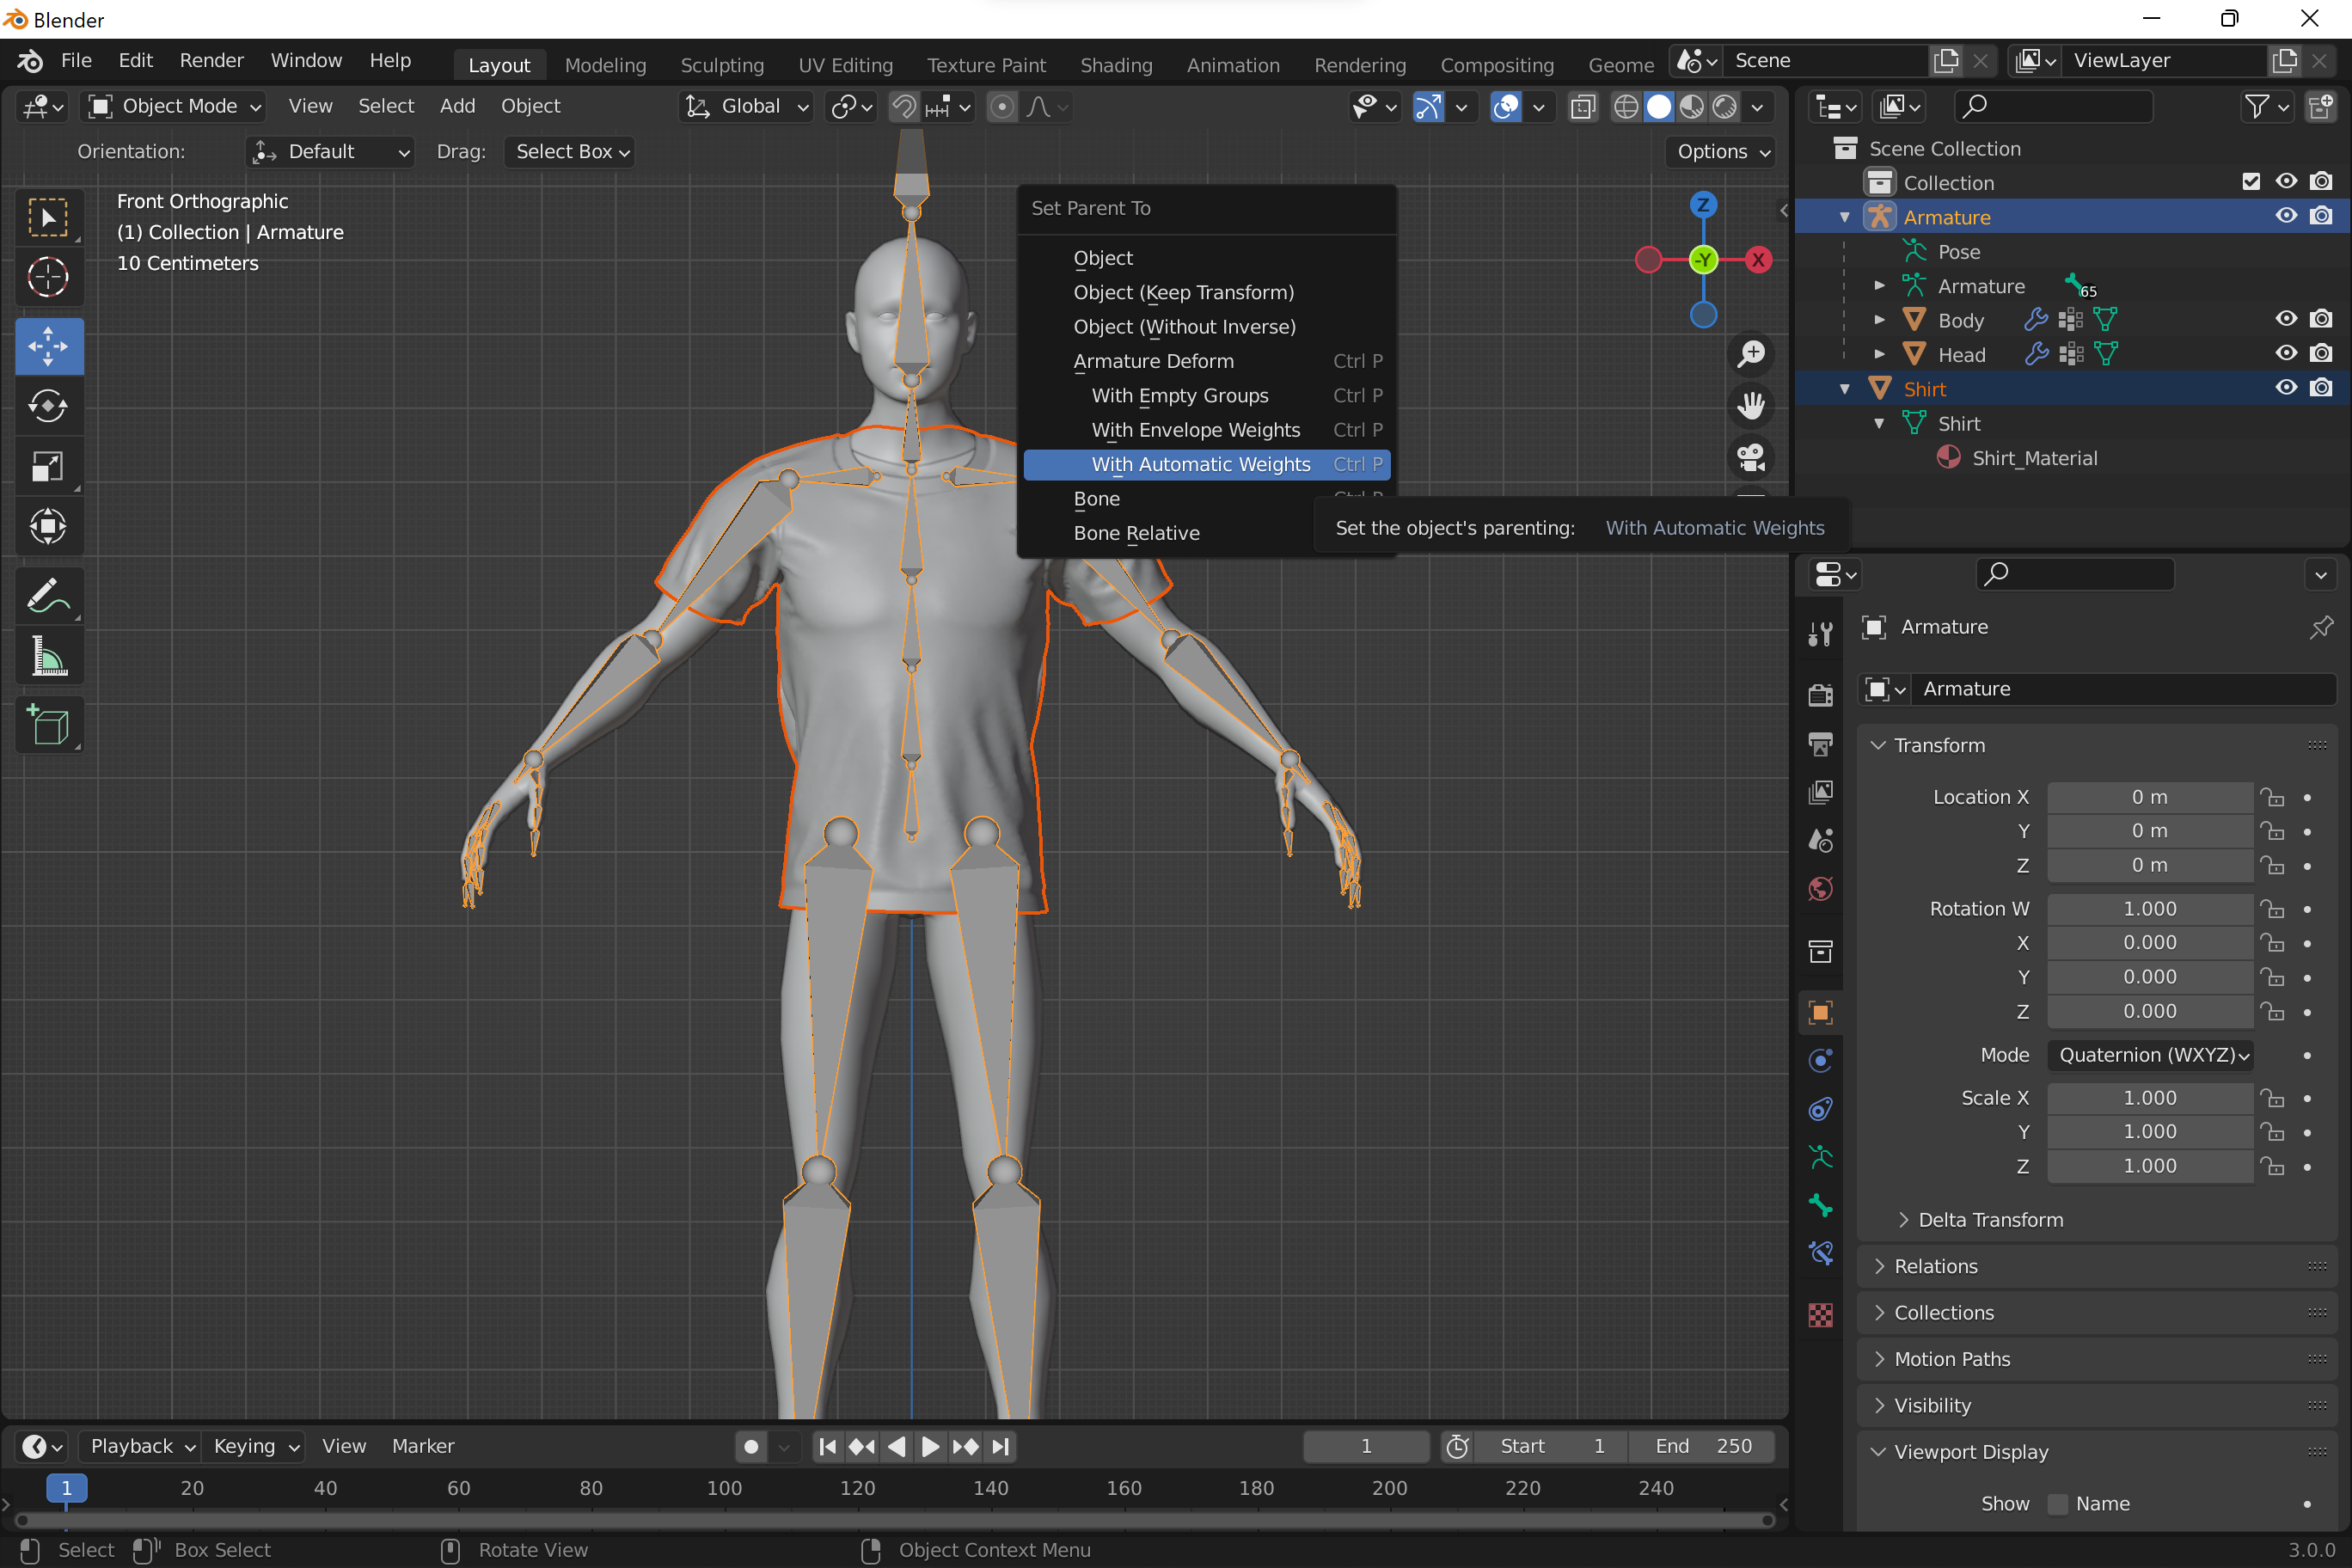
Make armature a parent of the model (Armature Deform Parenting):
- Select all child objects that will be influenced by the armature.
- Then lastly, select the armature object itself.
- Press Ctrl+P and select one of Armature Deform methods.
- Preferred method is With Automatic Weights.
- Try different methods and choose the one that gives better results. Sometimes With Envelop Weights provides better skinning.
-
Check skinning in Pose mode. Make sure meshes deform correctly.
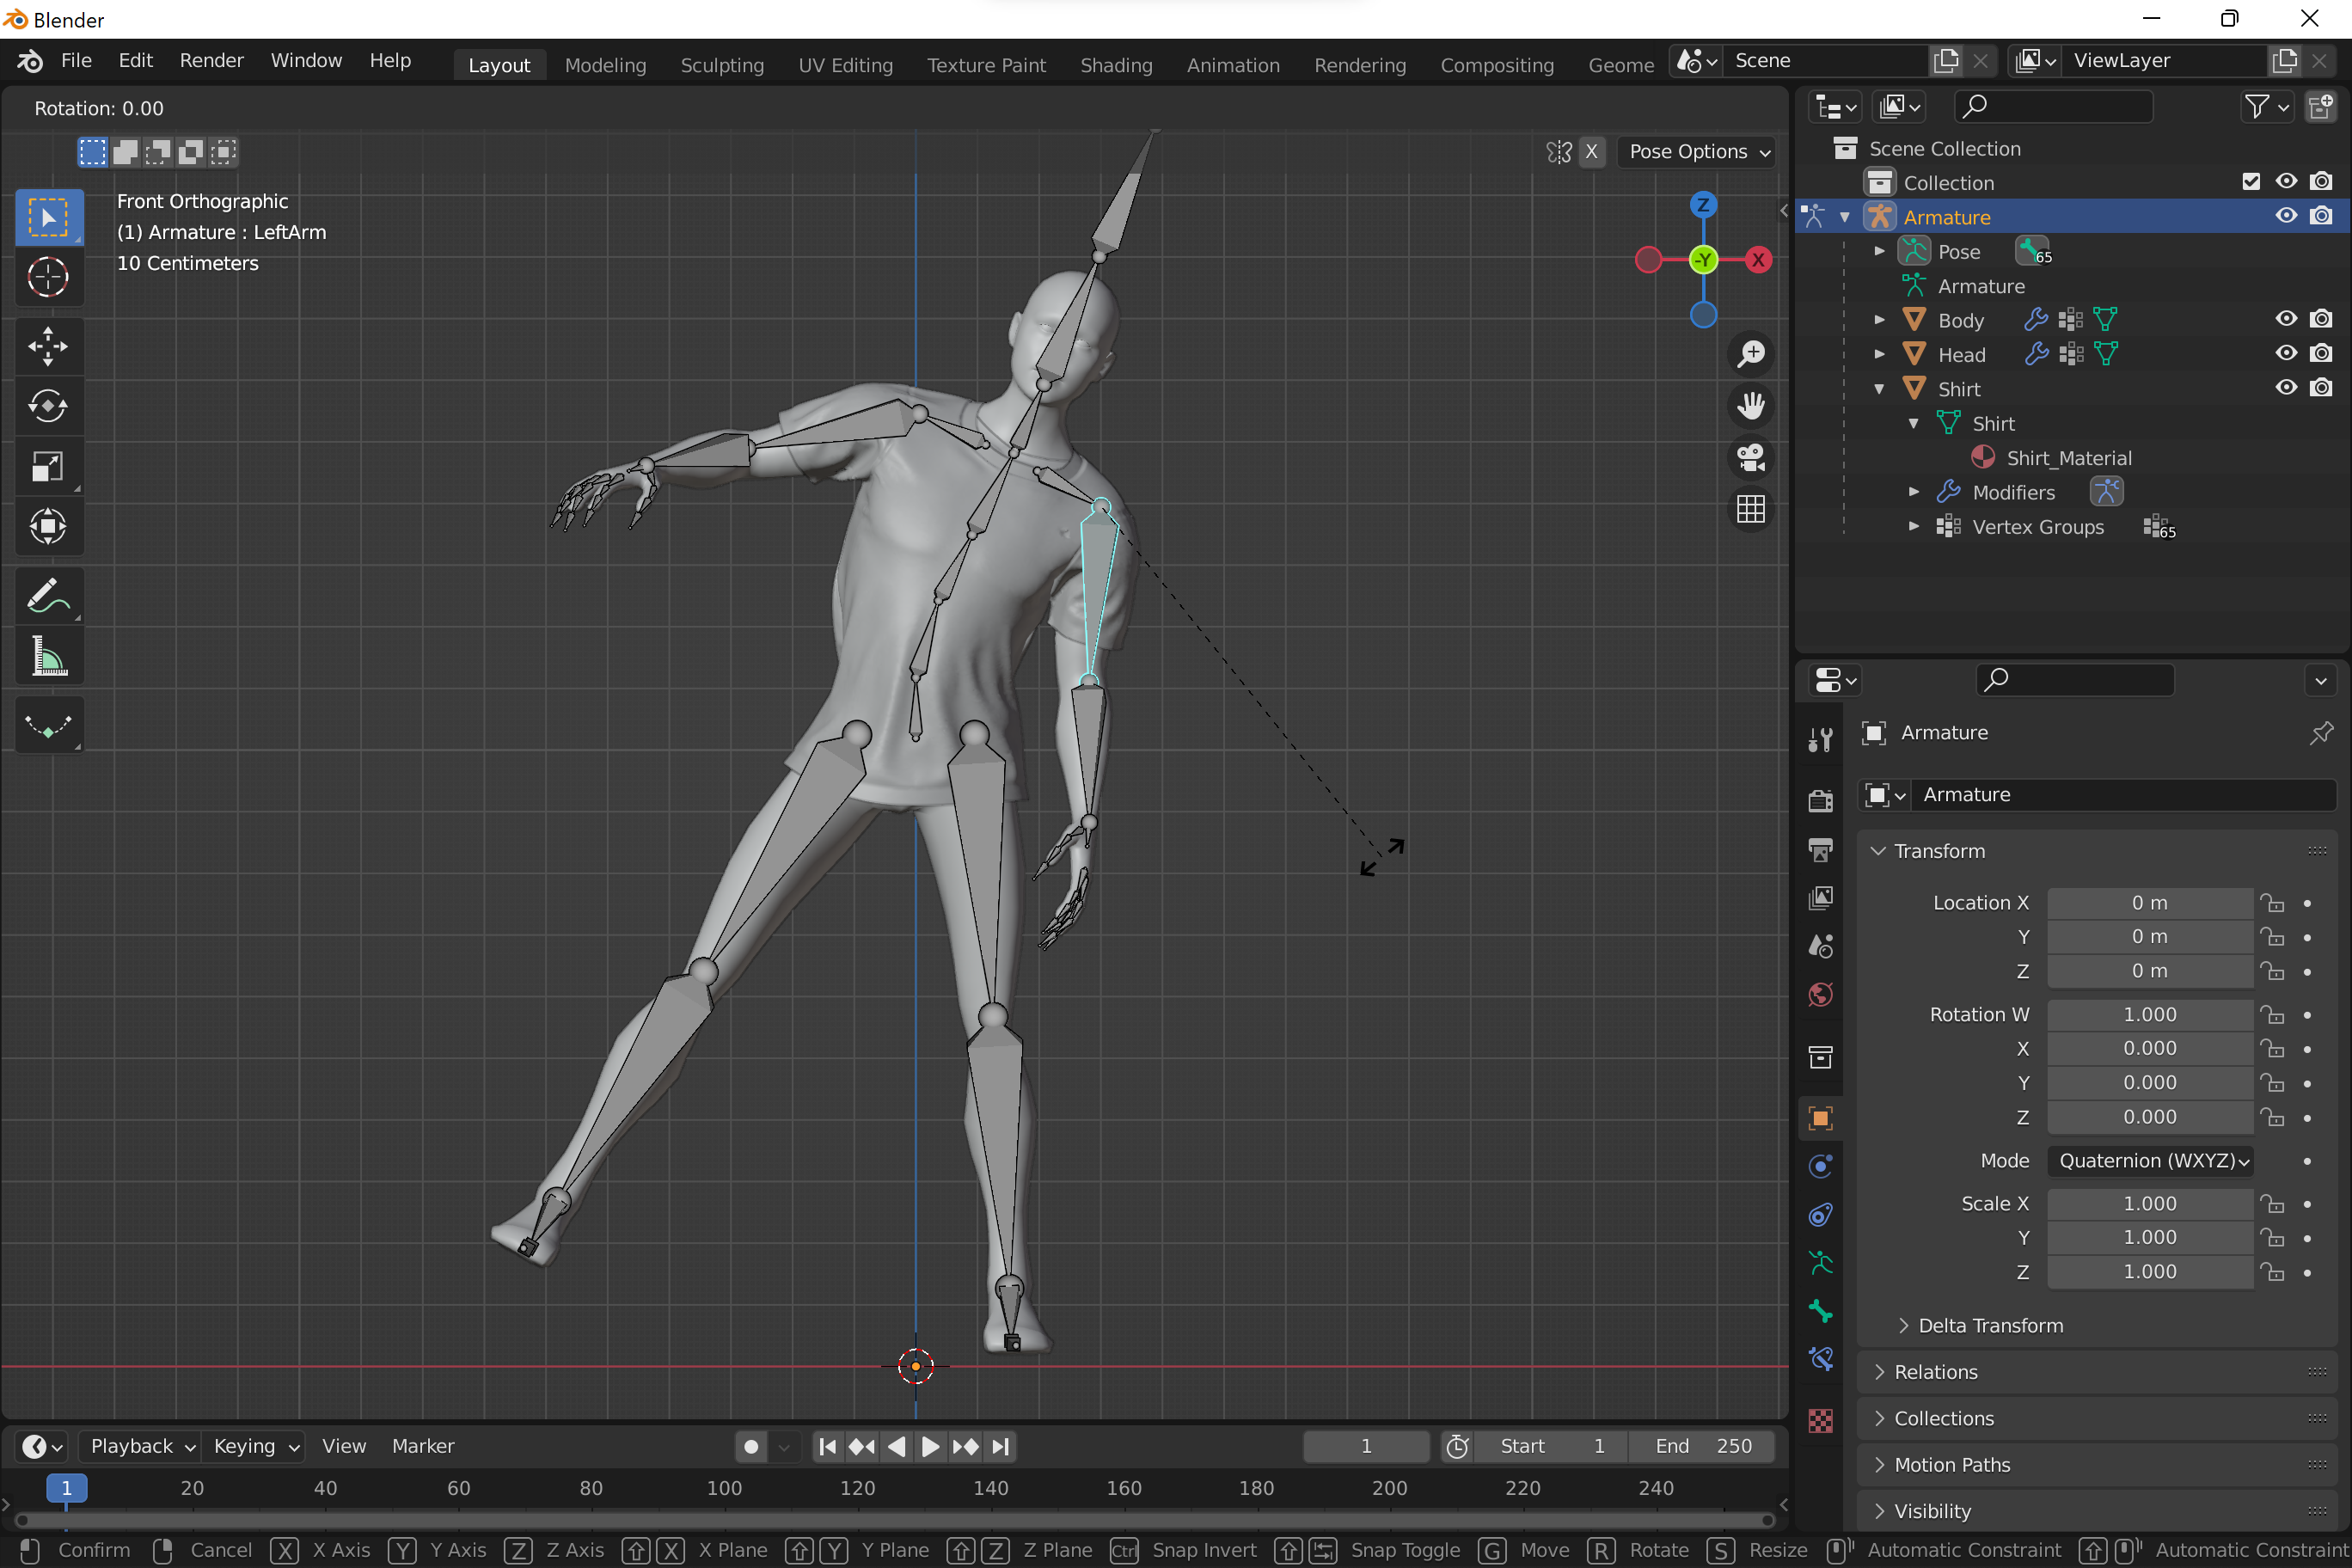
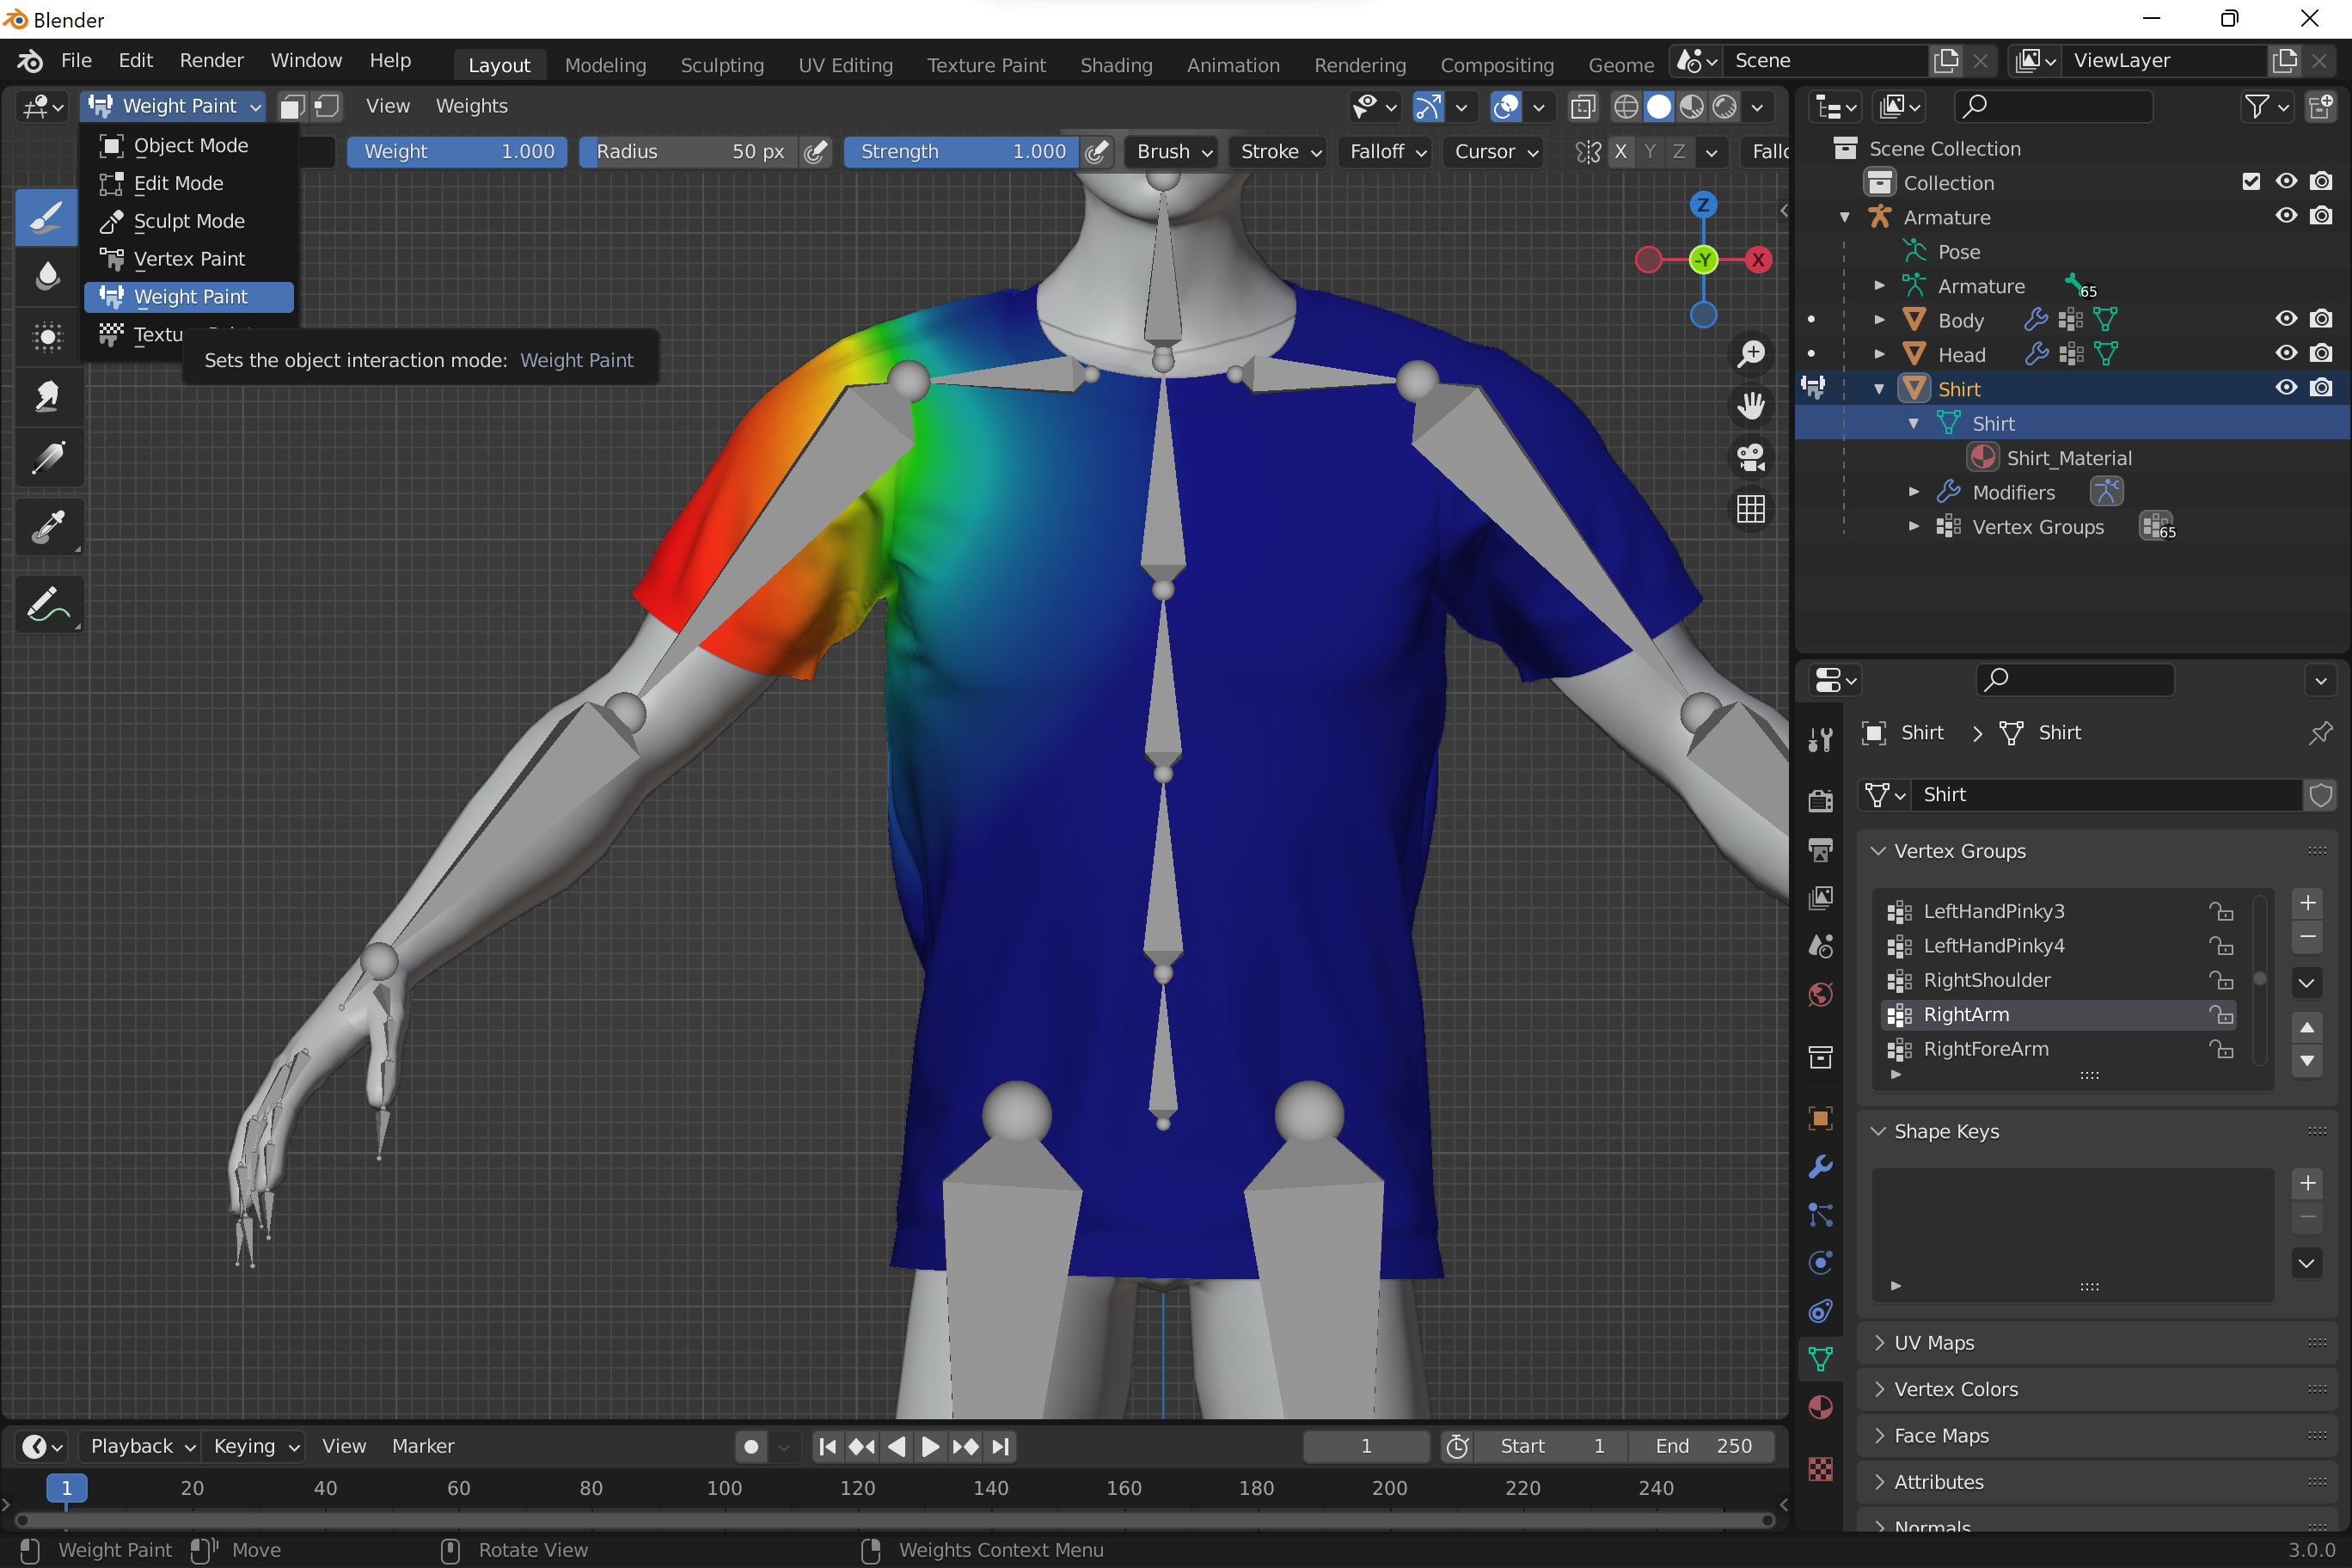
- Automatic weighting may not provide 100% accurate result. Use Weight Paint tool to correct weights and achieve higher accuracy.
- Remove meshes you don’t need, Armature is required part of a model.
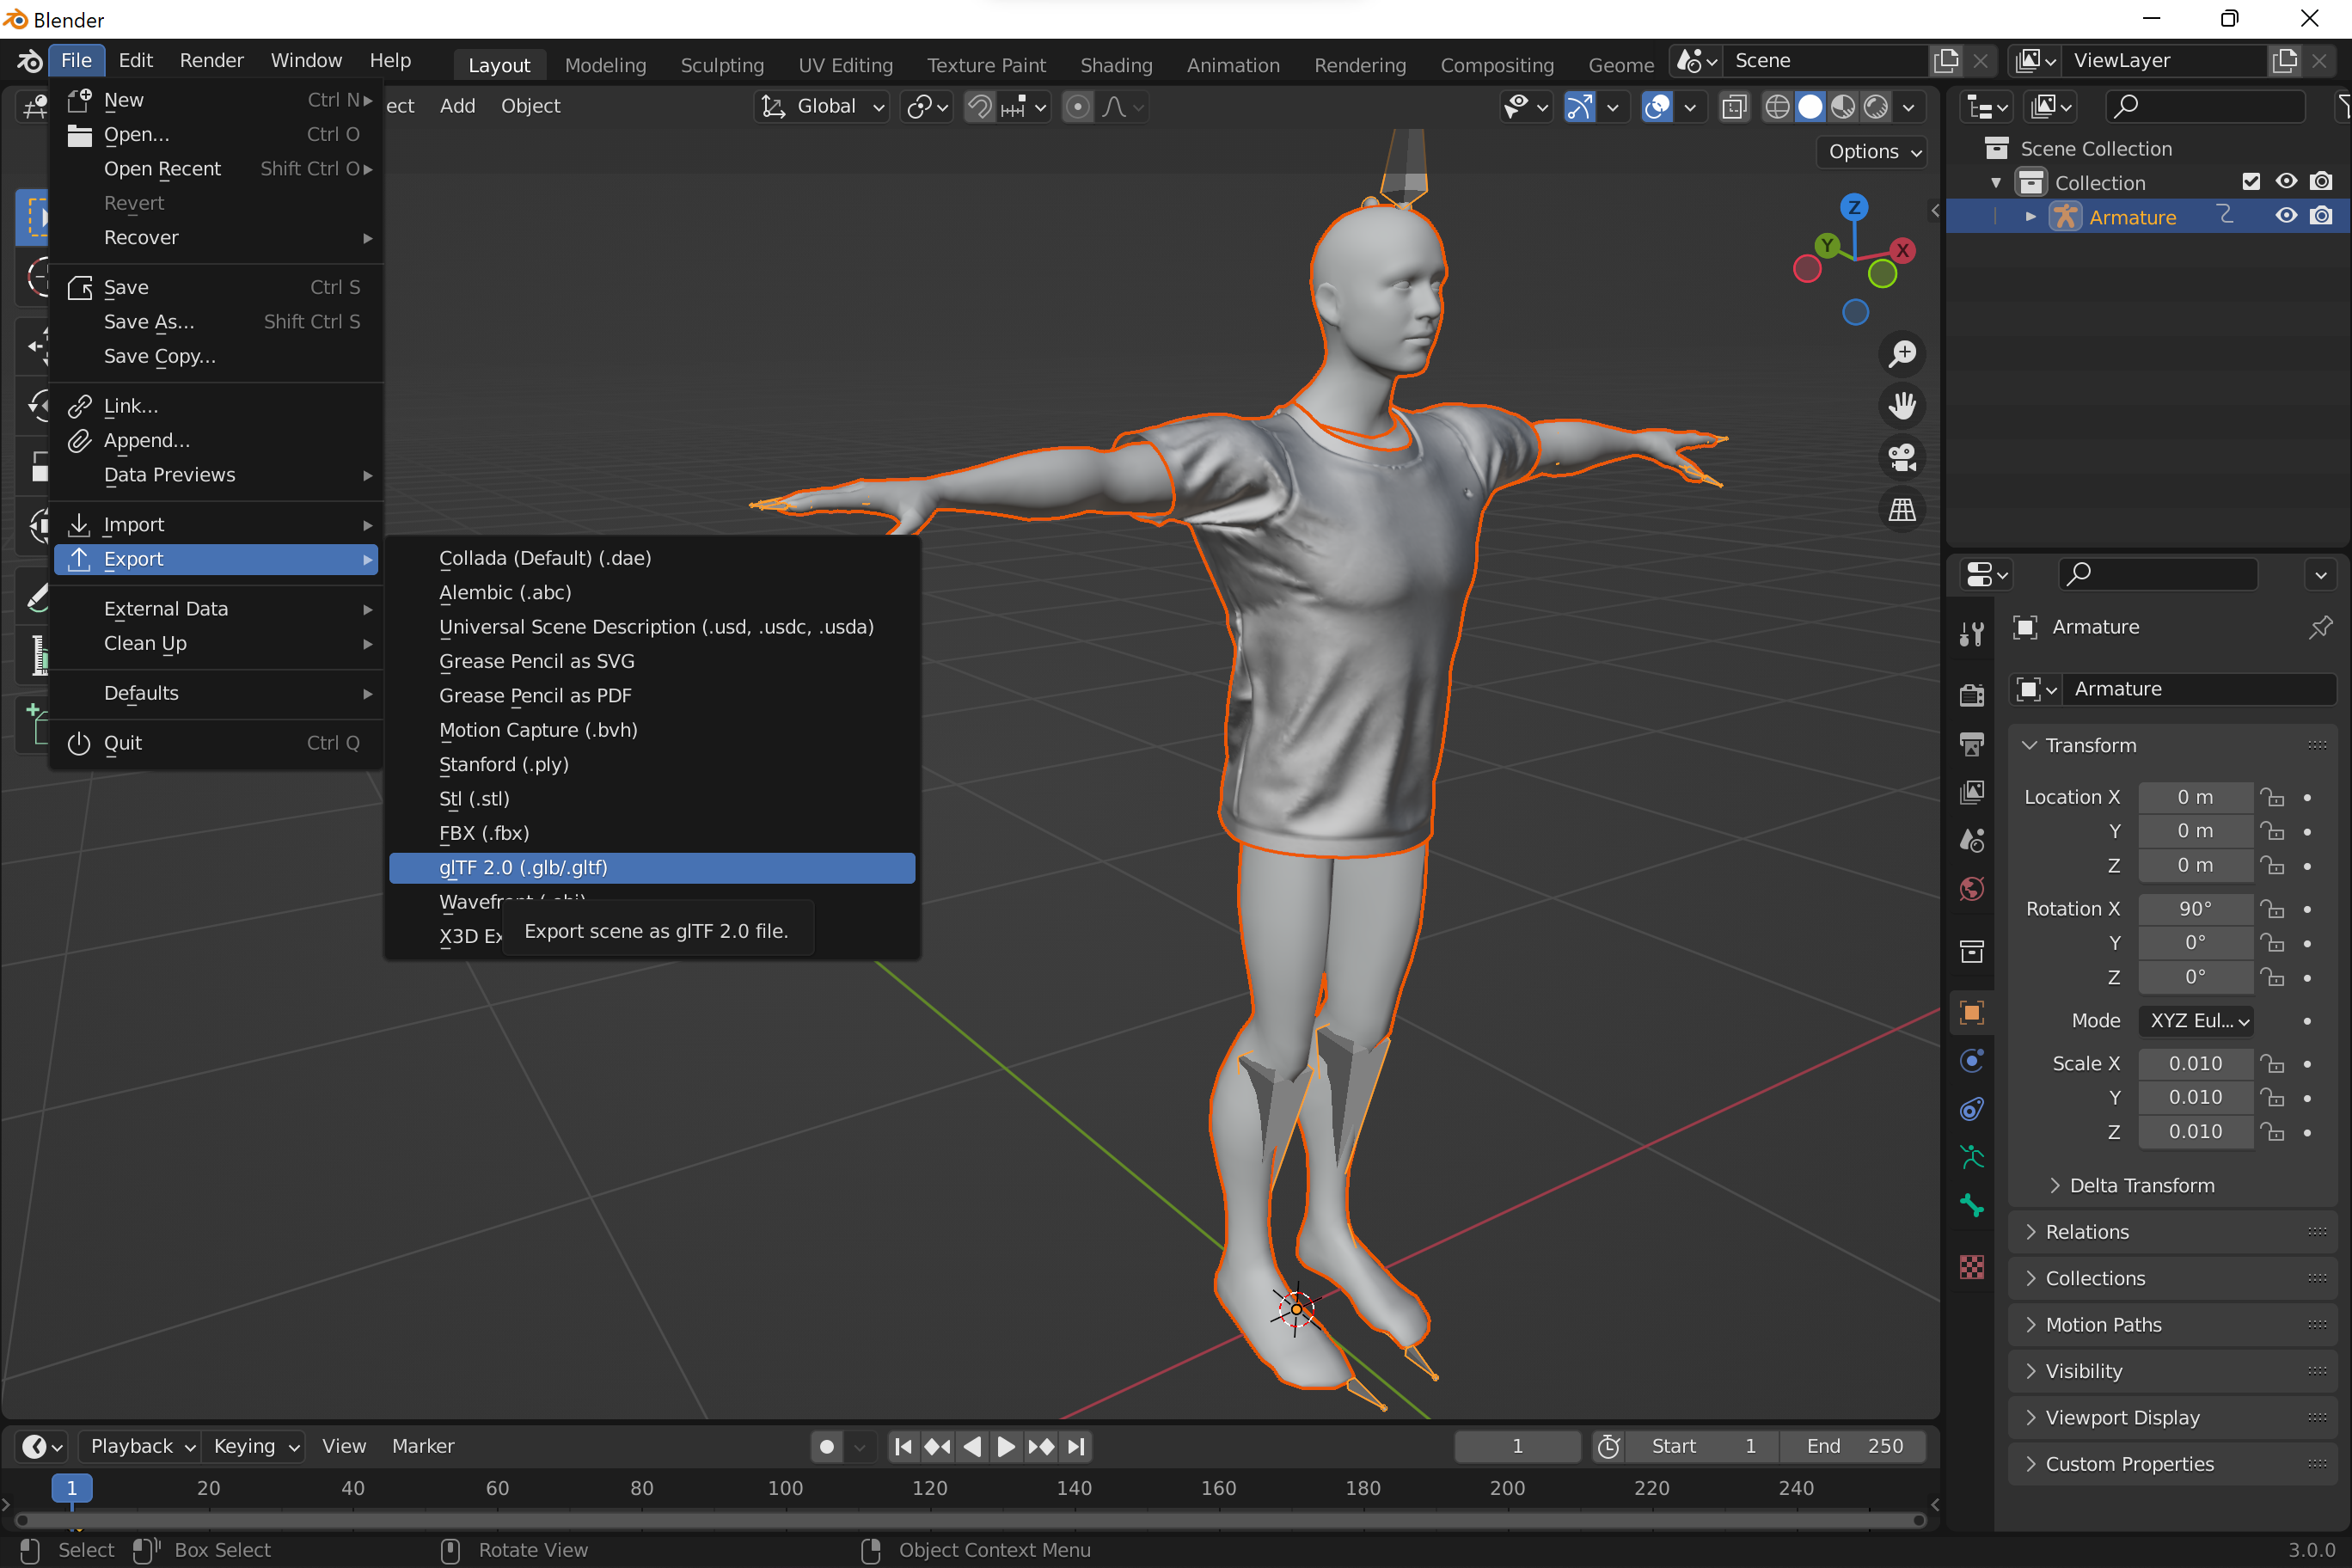
- Export your model (optionally with body mesh to be used as occluder).
- In your app use one of body pose plugins to add model to a scene.
Several iterations of model skinning may be required to achieve good results. If model behaves well in Pose mode but renders weird in AR when used with the SDK, consider tunning PoseTuneParams as per their documentations. Try to use pre-skinned body models as references and verify that meshes of apparel and body deform identically, do not overlap in certain poses, etc. Also, double check armature alignment inside the model. Spine bones may be to close to the chest or shoulders are to far from edges.
You can find more materials about skinning in Blender documentation: